How to Make a Strawberry Raised Bed
For some time now, we’ve wanted to plant a strawberry-raised bed inside of our fenced-in garden. We wanted a way to contain the strawberries so that they aren’t destroyed when we plow and till up the garden the next spring. The raised bed solution solved both of those problems. We created a simple raised bed and wanted to share what we did in case you have ever wanted to do something similar. From the time that we brought the materials home, it took us both about 3 hours from start to finish.
The finished product will be a 4′ x 8′ raised bed that is raised out of the soil appx. 6 inches. We chose to put a divider in the middle of our raised bed to keep the roots of the plants from spreading into the other plant’s area. To accomplish this, we cut 2 additional 4-foot sections of 2×4 boards and screwed them into place in the middle, thus making two 4’x4′ sections. We have noted below the materials for each. The 2×4 boards were leftovers from another project, saving us some money since a 12-foot 2×8 is significantly more expensive than an 8-foot board.
 What You Will Need:
- NO DIVIDER: 3 x Treated 8-foot 2×8 Boards
- DIVIDER: 2 x Treated 8-foot 2×8 Boards & 1 x Treated 12-foot 2×8 Boards (the extra 4′ for the divider)
- Make sure to get treated, as untreated will rot quicker being in direct contact with the ground.
- ~20 x 3″ Deck Screws
- Use more or less depending on how sturdy you feel it needs to be.
- Hand/Electric Saw
- We used our Ryobi Circular Saw to cut the boards.
- Drill and Screwgun
- We used our Dewalt 18v Set and had no issues.
- Weed Barrier
- Raised Bed Soil
- We used 6 x 1.5 cubic foot bags of Miracle-Gro Raised Bed Soil per side in ours, so 12 bags in total.
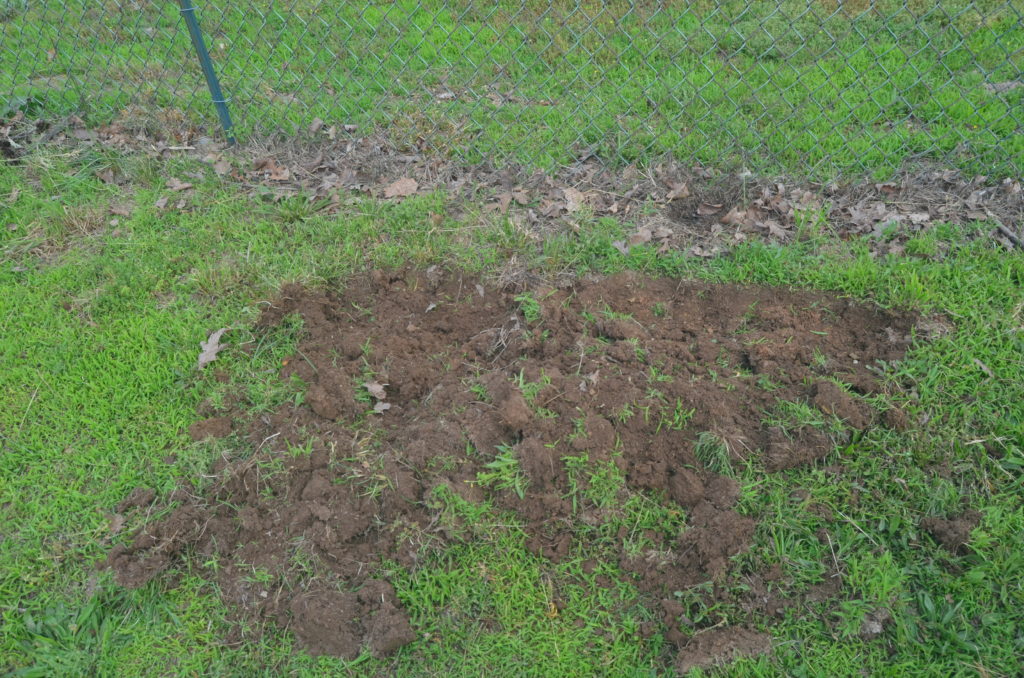
Step 1: Choose Your Spot & Breaking Ground
The first thing we did was locate a spot that had access to our garden hose for easy watering and out of the way of our lawnmower. Once we established the location, we started to break the ground up using a garden hoe. The goal is to cut through the grass on top and level off a 4′ x 8′ area to lay the raised bed frame in.
 Step 2: Cut Your Boards
It’s not a bad idea to go ahead and cut one of the 2×8 boards and lay an 8′ and 4′ board out to get an idea of the size you need to clear.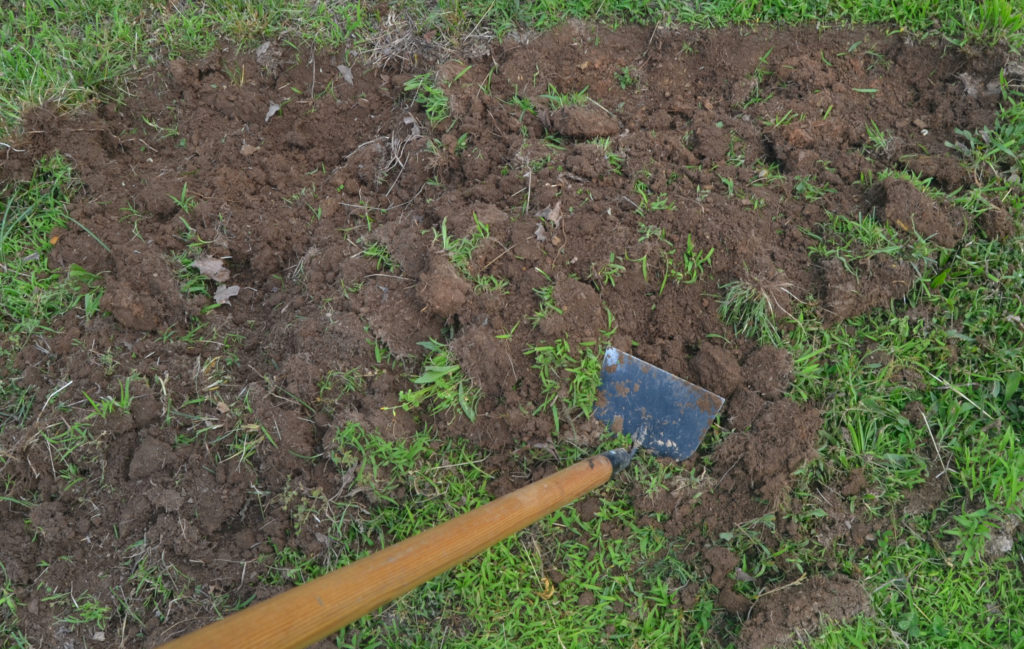 The 4′ x 8′ area is just about ready to bring the frame in. We left some loose dirt in the center to aid in leveling it out once the frame is in place.
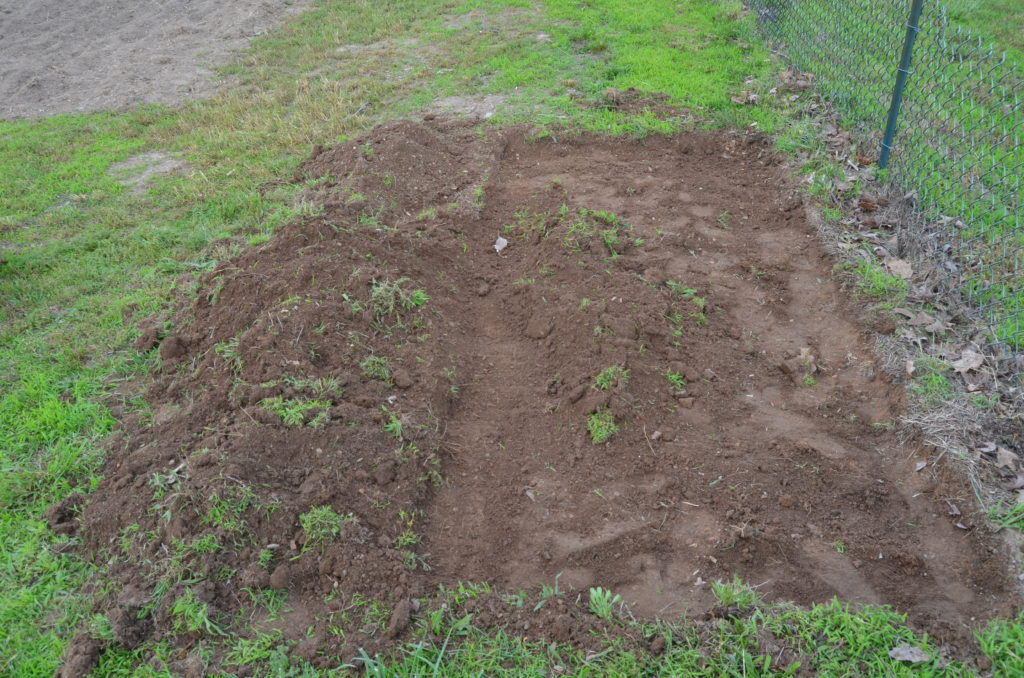 Step 3: Assemble Frame Bed
We had to make cuts on the boards to have two 8-foot 2×8 boards and three 4-foot 2×8 cuttings. The board in my hand in the image just below is the end of one of the 8-foot boards. We placed the 4-foot cuts on the inside to simplify the measurements. After positioning the boards evenly, we pre-drilled four holes at each corner so that the wood didn’t split.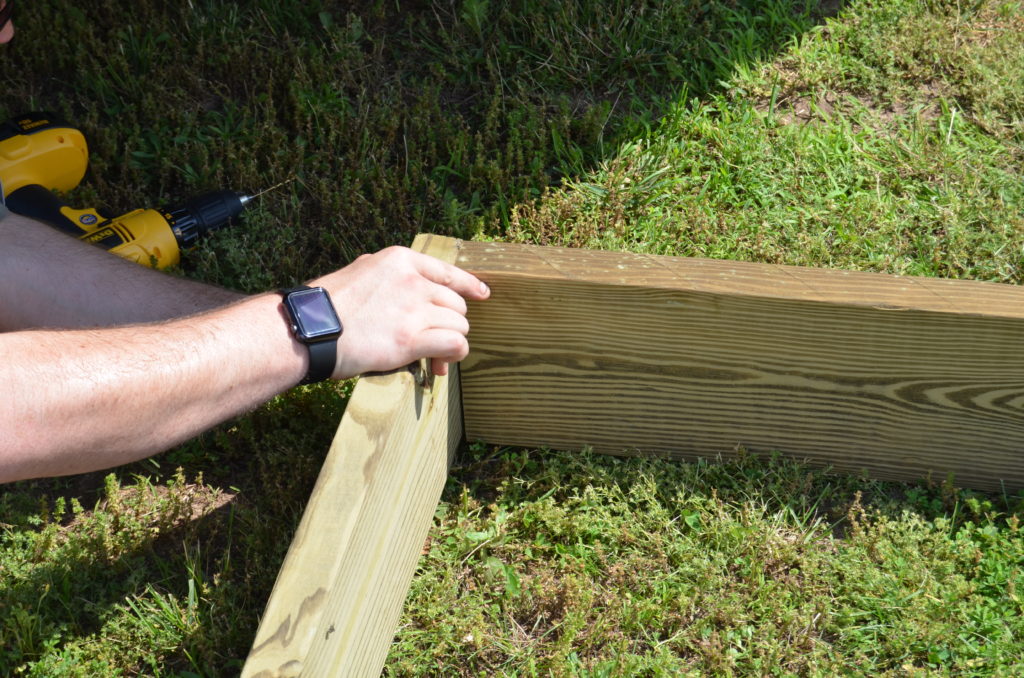 Drilling the corner.
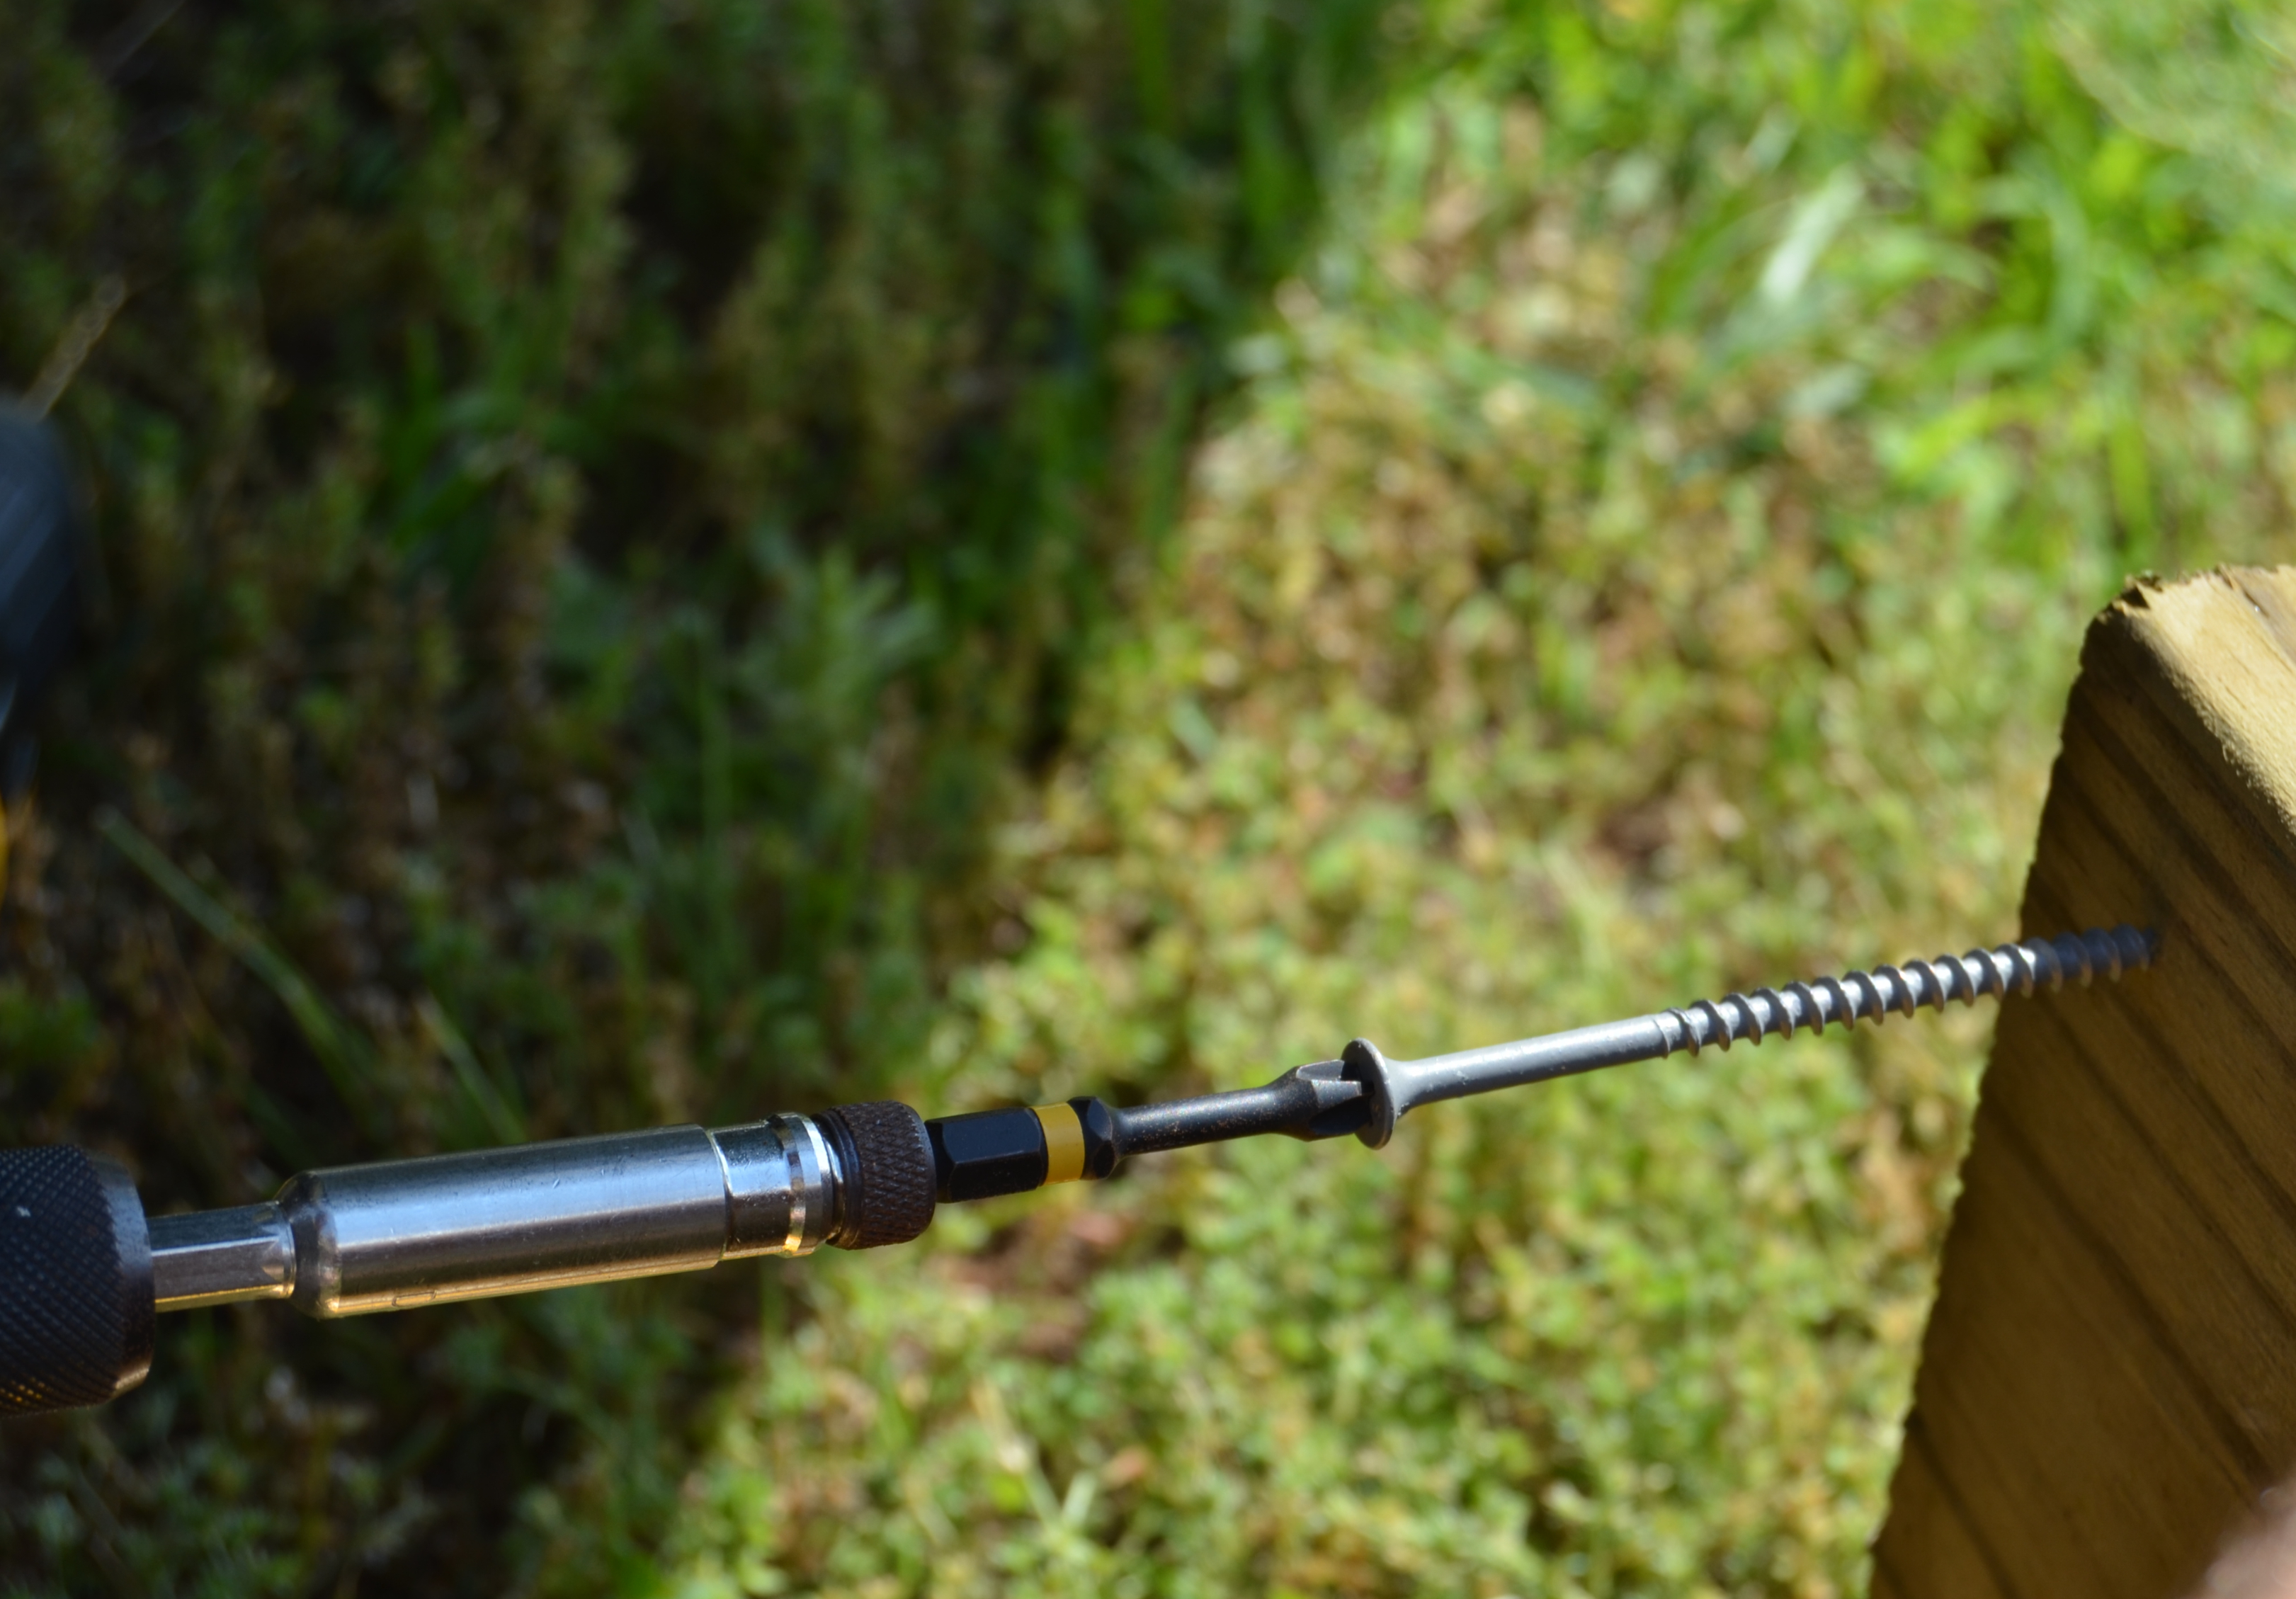
 Setting four screws on each corner.
 Step 4: Level Bed in Place
The frame has been assembled (note: 2 people should lift this to avoid injury and/or splitting at the corners), and the ground has been cleared in a 4′ x 8′ rectangle.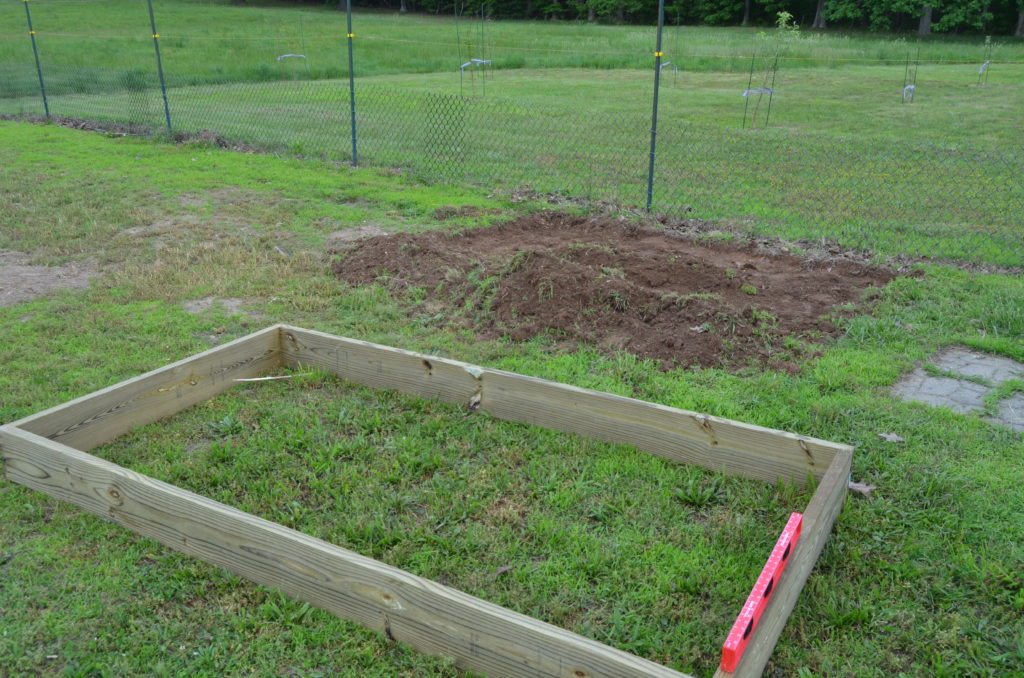 The frame has been set and leveled. Once setting the frame in place, use dirt that you have loosened to pack under the frame to level it out. Make sure to lay the level on all sides, and if you have to make any adjustments, re-check the level on the other sides. You’ll eventually get it leveled out.
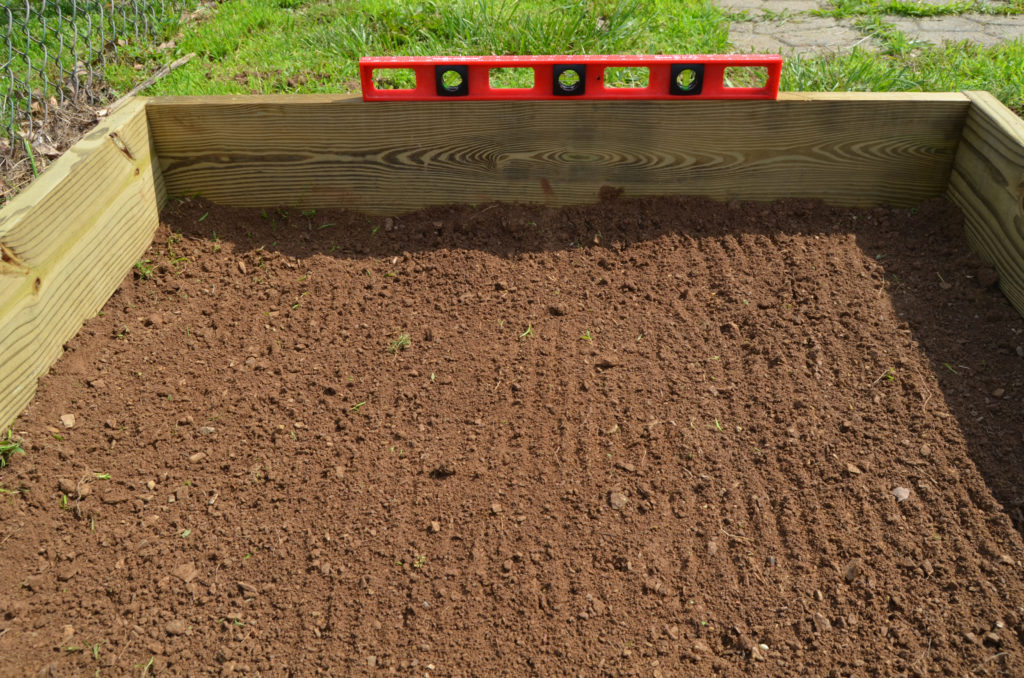 Step 5: Put Down Weed Barrier
To aid in slowing down weed growth, we laid a strip of weed barrier down the center.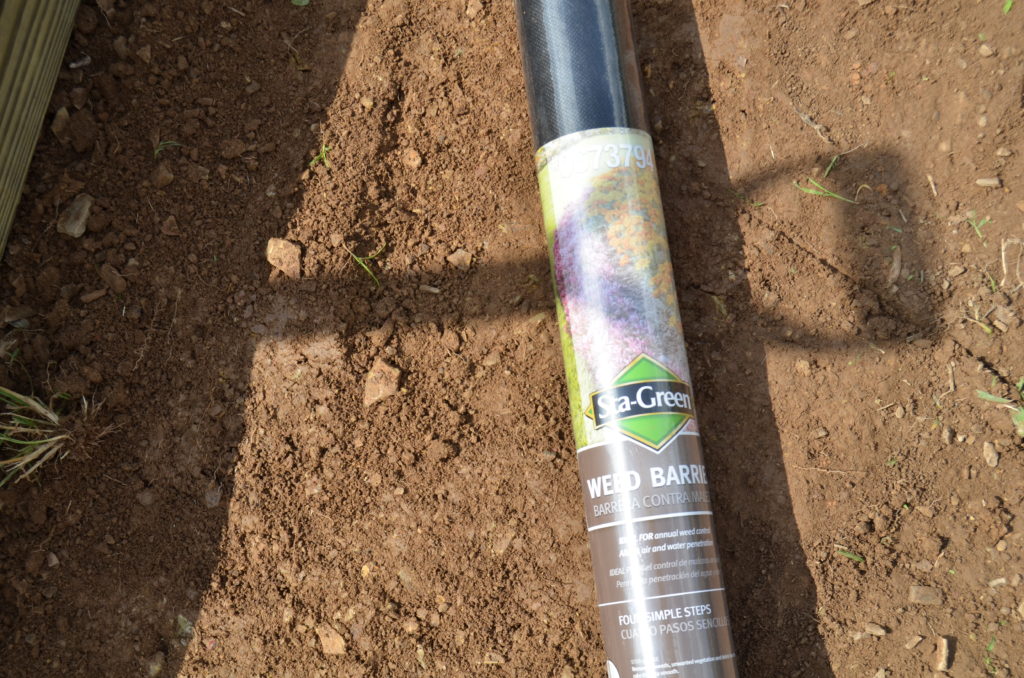 Since we placed a divider in the bed, we also stapled the weed barrier towards the top of the barrier to ensure that weeds and roots don’t climb under the divider. This step is optional, but it will help prevent a lot of weeding in the future for 5-10 minutes of work today.
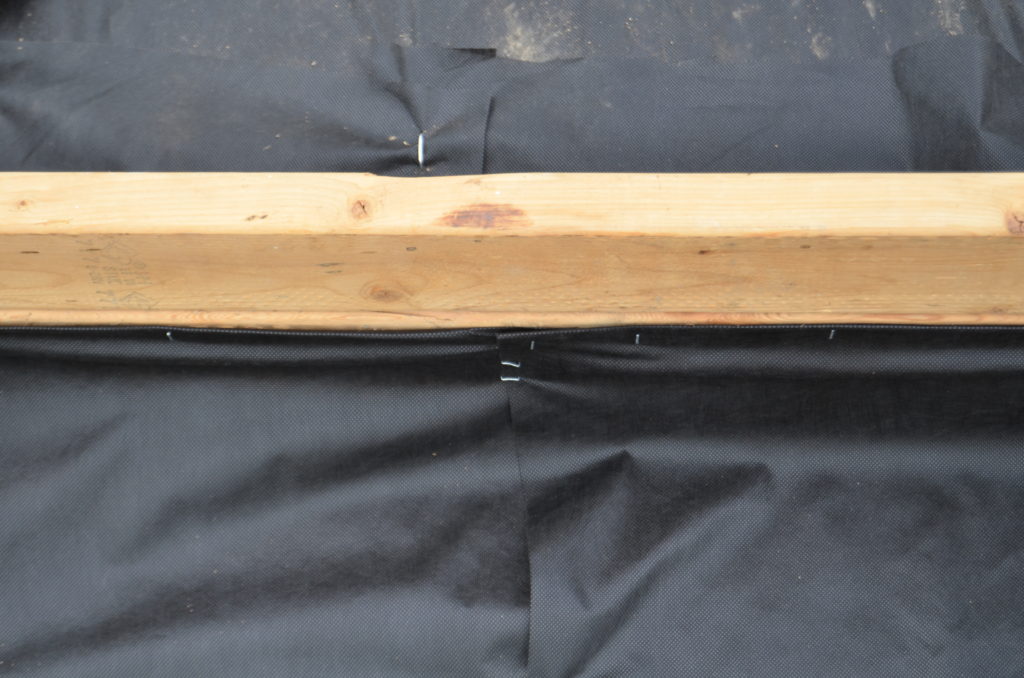 Step 6: Add Raised Bed Soil
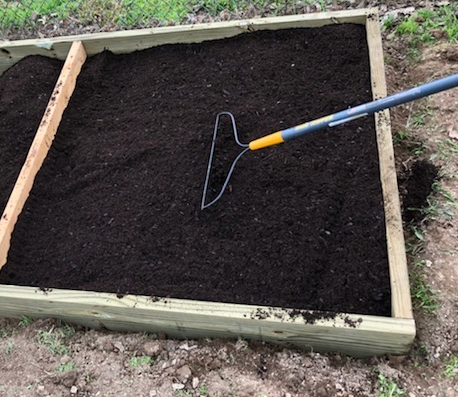
We chose to use Miracle-Gro’s Raised Bed Soil. Whatever soil you choose to use, for a 4′ x 8′ bed, you’ll need approximately 18 cubic feet. That comes to 12 x 1.5 Cubic foot bags of soil. We placed 6 bags on each side of the bed and used a rake to spread and even it out.
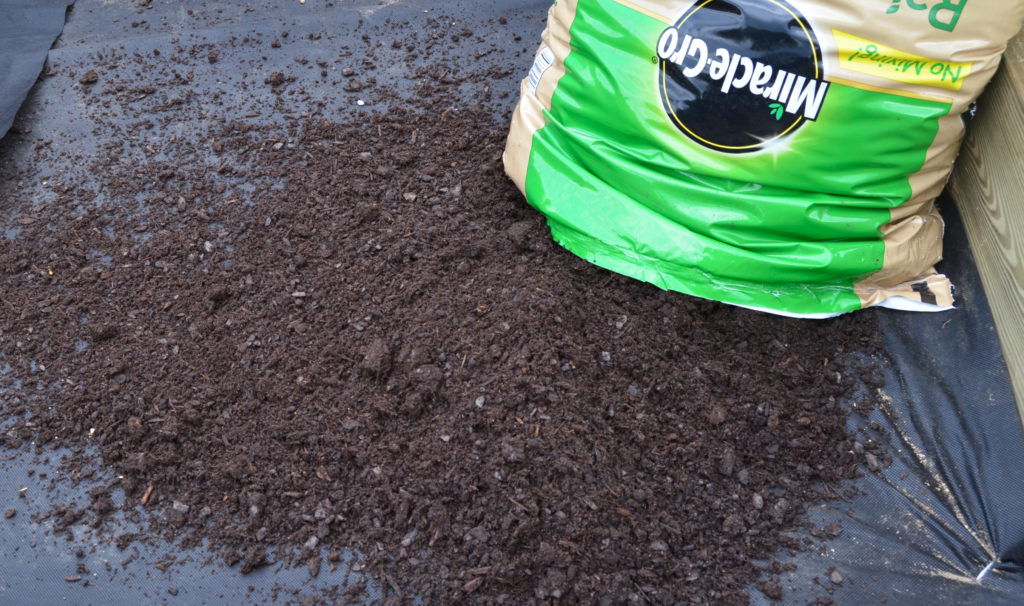
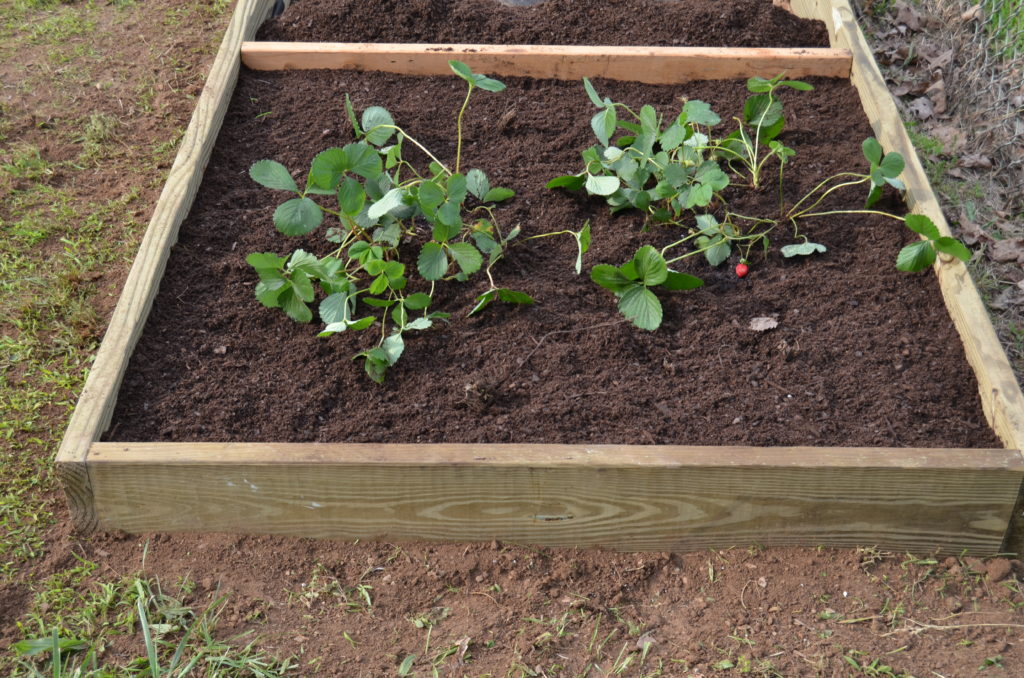
 Step 7: Time to Plant!
After this is complete, it’s time to plant!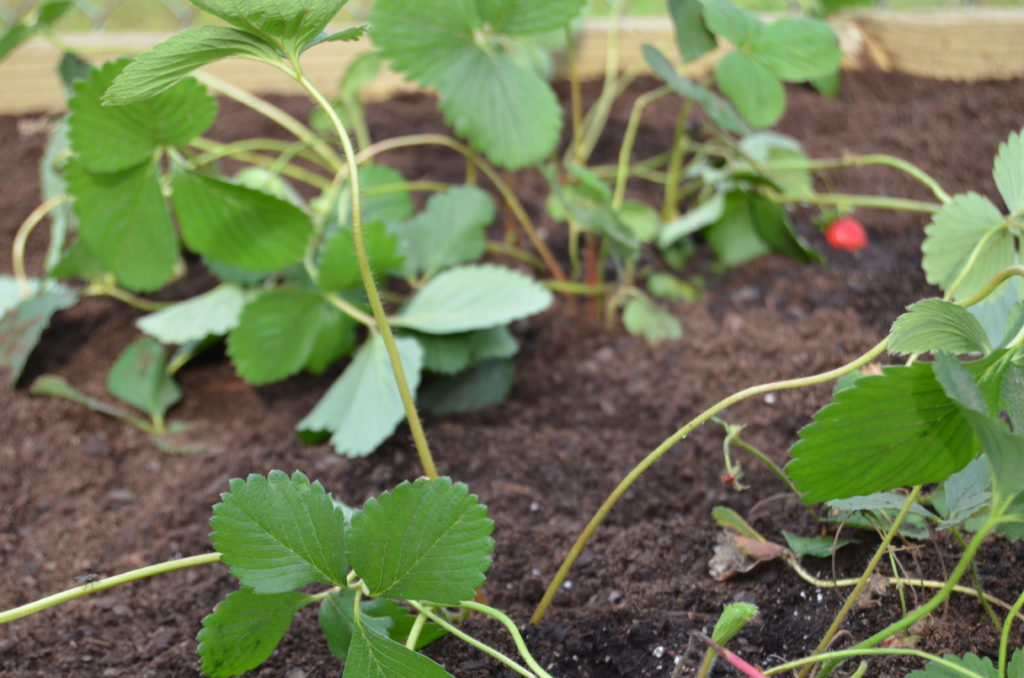 We are still waiting on our rhubarb seedlings to grow large enough to transplant into the other side. Will pick photos when they are ready!
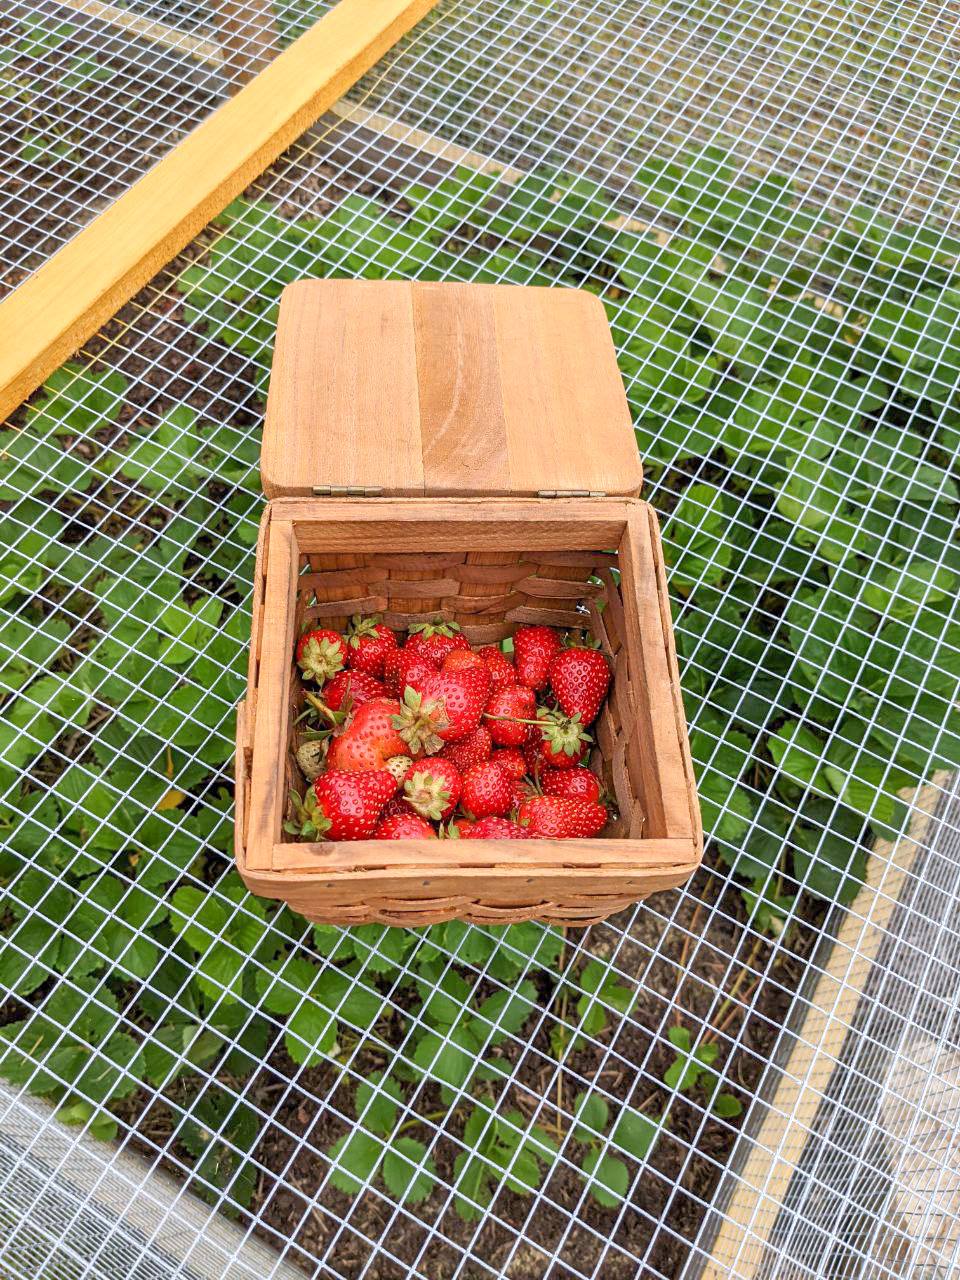
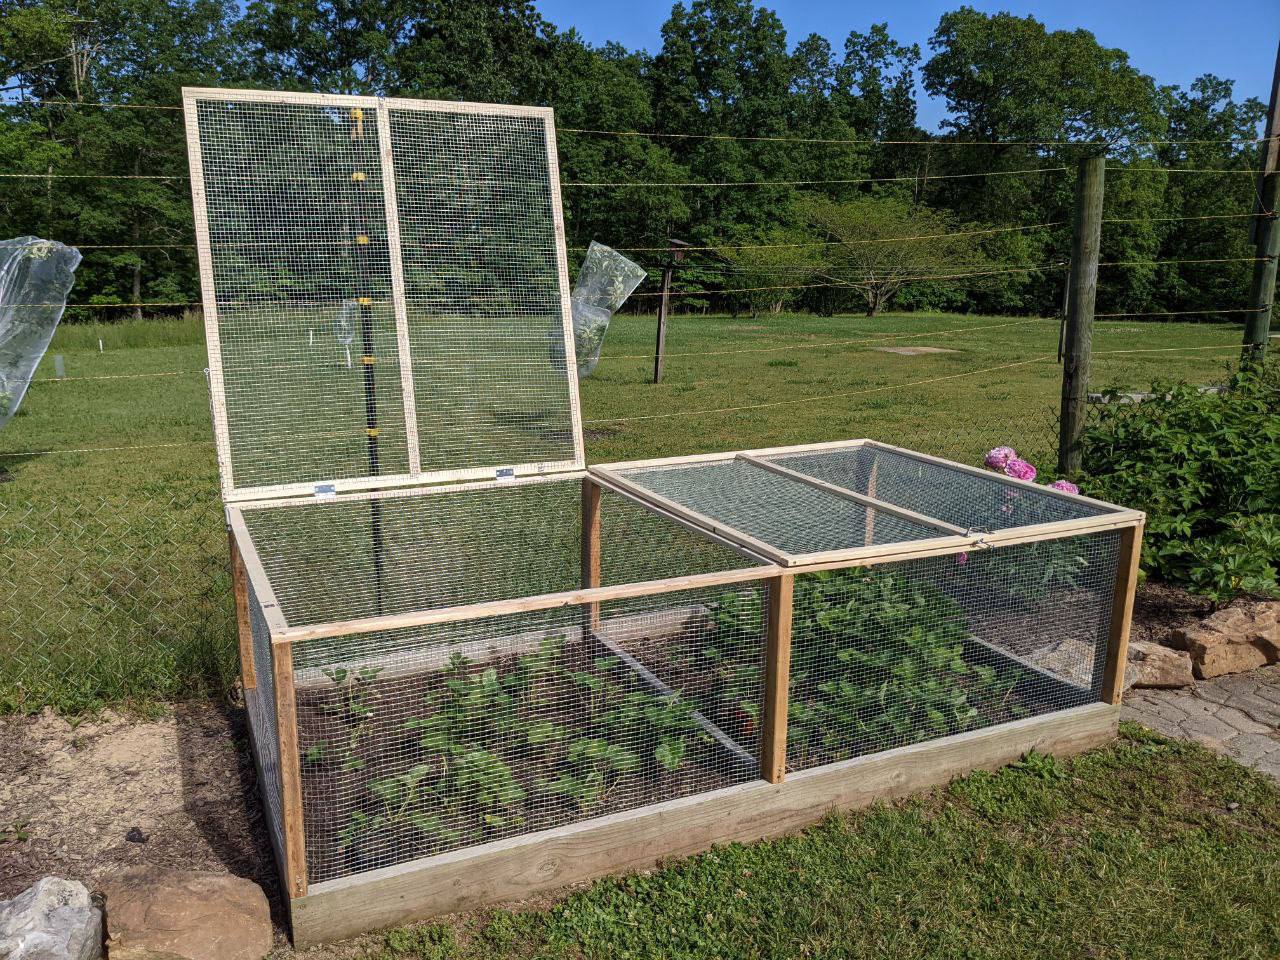
Update: We added a cage to the top of the bed; this is to keep birds out of the raised bed but still large enough holes to allow pollinators to go inside.
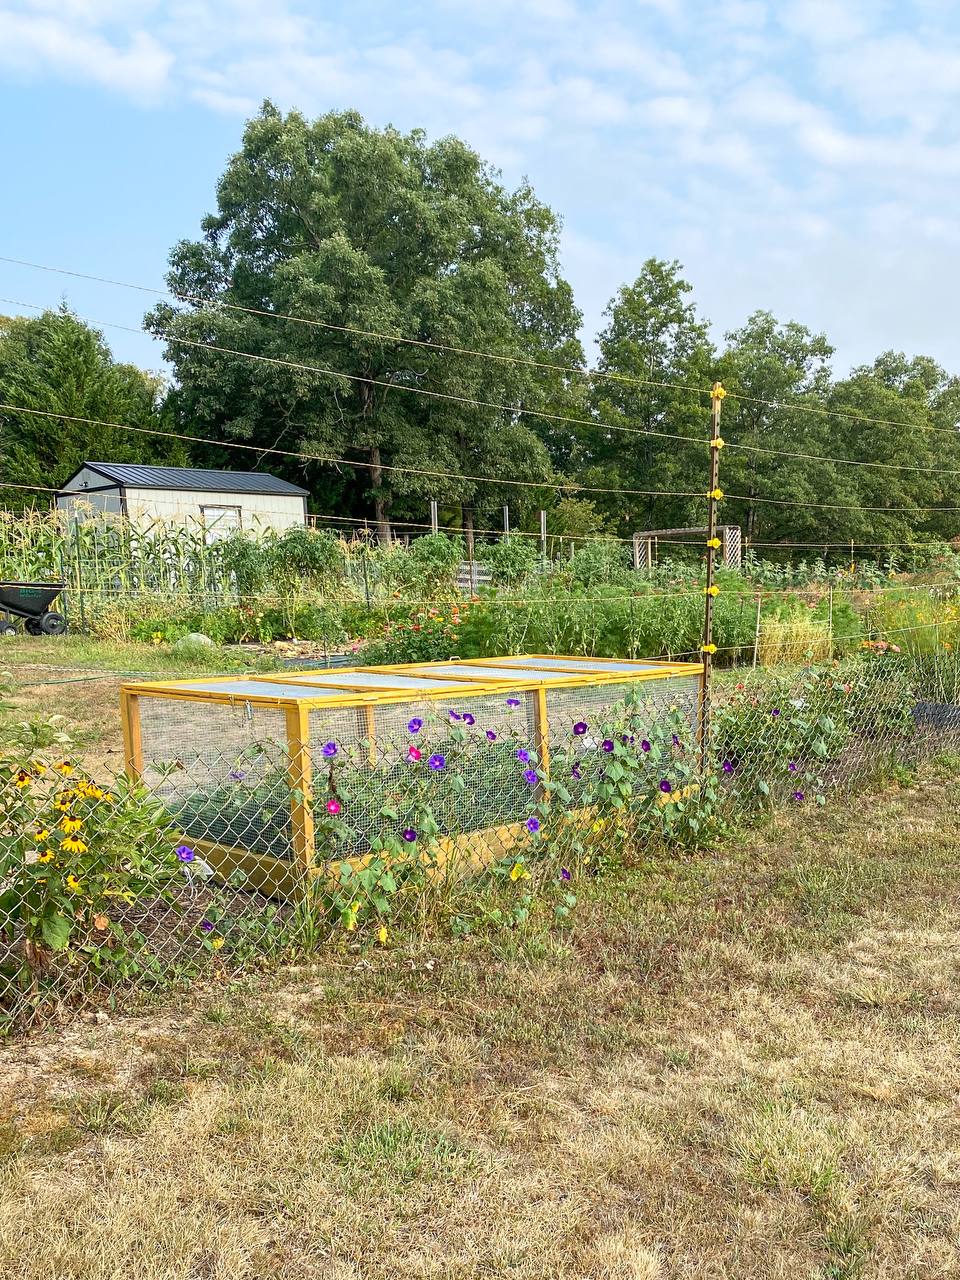
After staining and weatherproofing.