
Tips to Growing Healthy Tomatoes from Seed
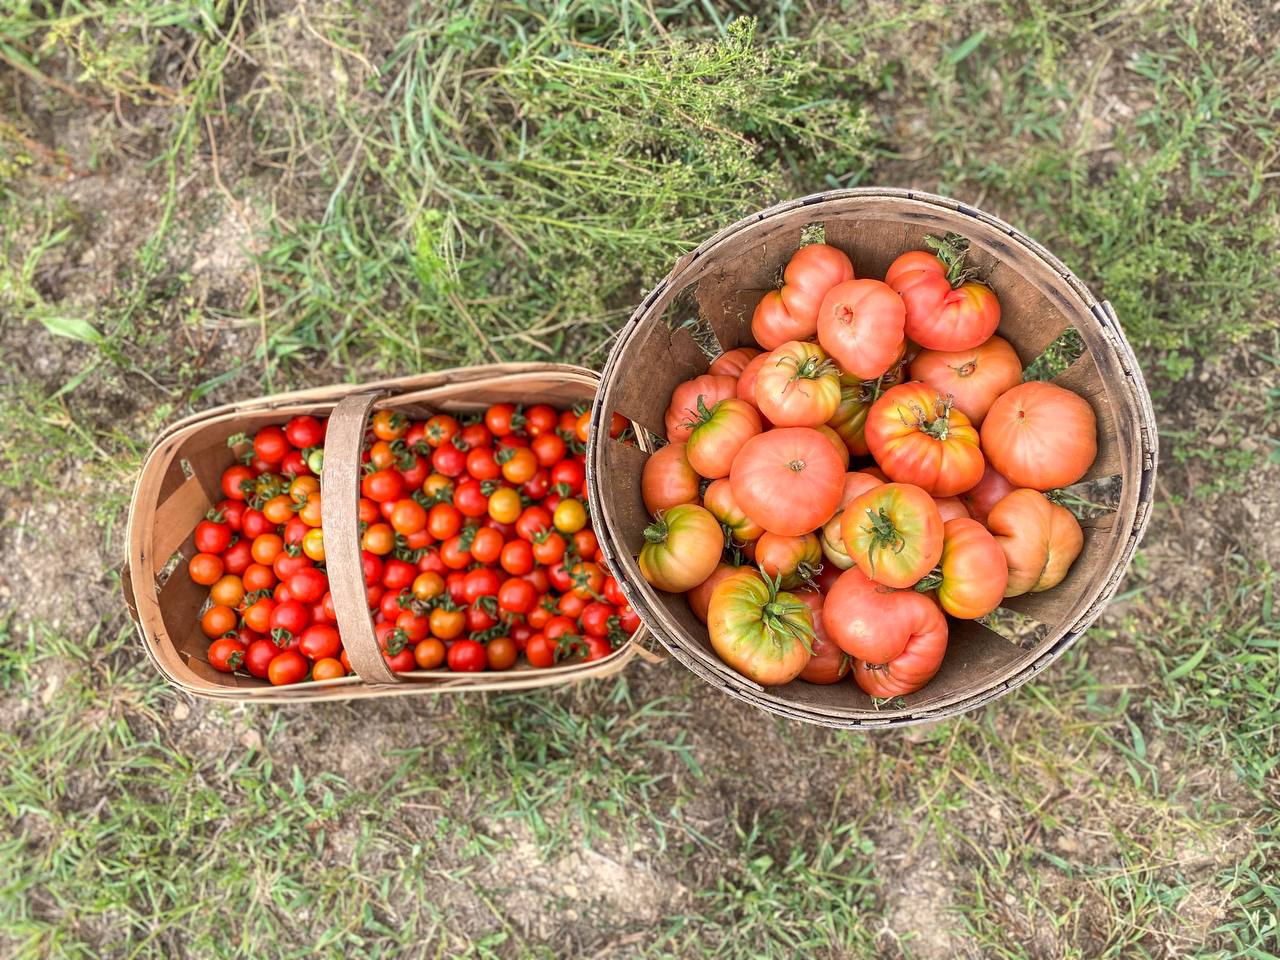
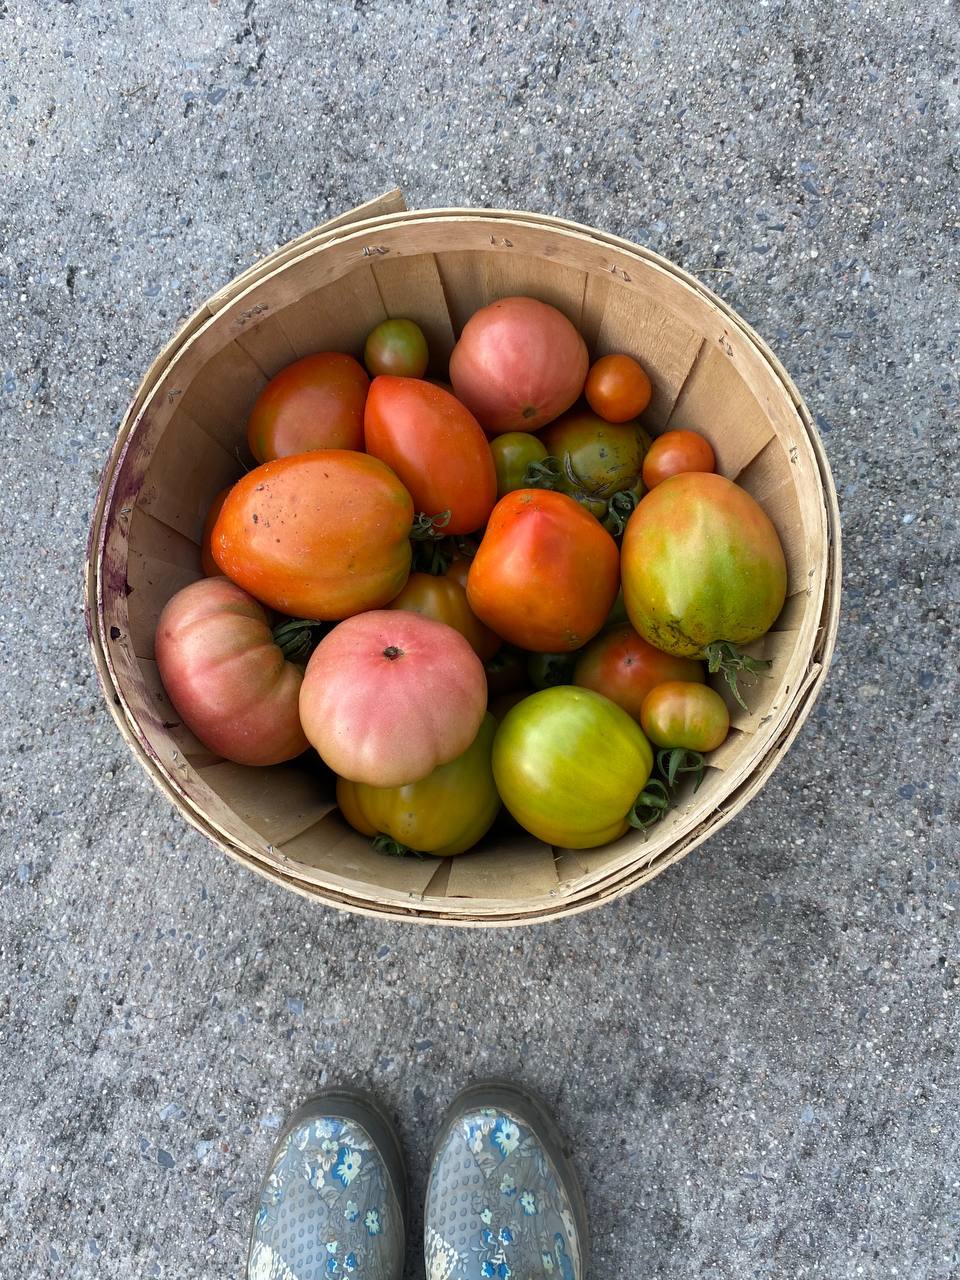
Tomatoes are one of the first and most popular vegetables you see many gardeners add to their gardens yearly. Who doesn’t love all the delicious foods that can be made or added to a recipe to add that delicious flavor or garnish? Over the past seven years of growing my tomatoes, I have learned some tips and some failures to avoid when growing them from seed. I would like to share with you some of these tips to help you grow some tasty tomatoes! I enjoy growing from seed rather than buying transplants because I can get started earlier, it’s so much cheaper, also, something is amazing watching a seed you hold in the palm of your hand grow into an incredible plant out in your garden that produces food for your table.
1. Know What Seeds are Available
There are several varieties of tomato seeds available. I enjoy Amish Paste and Roma for canning spaghetti/pizza sauce. Tomato plants fall between two categories, either Determinate or Interdetermate.
Determinate or indeterminate?
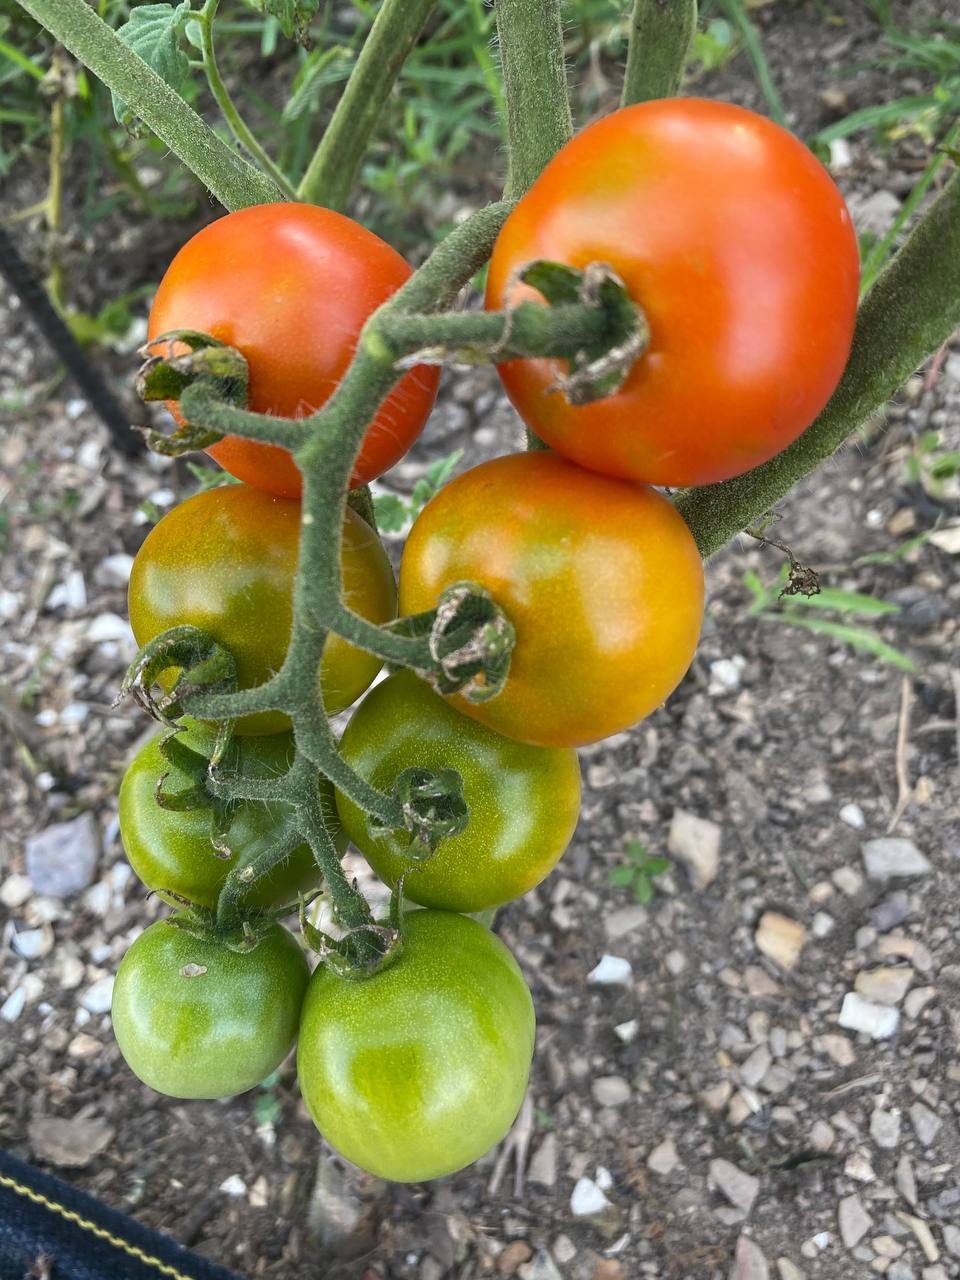
Tomato plants generally fall into two categories: determinate and indeterminate. Determinate (bush) tomato plants are bred to stop growing usually somewhere around 3′-4′ feet tall. When flowers blossom at the tips of the branches, the plant has reached its full height. The fruit of a determinate tomato plant ripens all at once. Because of this trait, this type of tomato plant is useful for those who want to grow tomatoes for canning. Since many determinate plants stay on the short side, they can also be ideal for the small-space gardener.Indeterminate tomatoes continue to grow for what seems like indefinitely. Depending on the variety, they can grow from 6′-20′ tall. This type continues to produce tomatoes all growing season until a hard frost hits and stops them in their tracks. These plants are particularly desirable if you’d like a continuous harvest for slicing or salad tomatoes. Although, indeterminate tomatoes can be used for canning just like the determinates, you may need a few more indeterminate plants so that you have plenty to can at any one time. Source Credit: FineGardening.com

2. Read Planting Instructions on Seed Pack
This is very important because you want to know if the plant will grow in your zone area. Seed packs will also give you planting instructions. Not every tomato is the same, and it’s important to know the details of exactly how it should be cared for.
3. Supplies Needed to Get Started
To grow seeds indoors, you will need a simple Seed Starter Kit or other containers you can explore with. I have used old chipped mugs, plastic fruit containers from the grocery store, and containers with saran wrap to cover (to start germination). Eggshell planters work great as well, (a mistake people fail to make with these is cracking the shell before placing it in the ground so the roots can expand).

> Use a Seedling Heat Mat if you have no sunny/warm location to get the seeds to germinate. Soil temperature is very important for seed germination.
>If you plan to start seeds during the winter months, you will need to Grow Lights. I start my tomato seeds in February/March near a very sunny location of my home. I have never used grow lights but it might be something I invest in for the future. If you do not have a sunny location, you will need to invest in grow lights because seedlings need a lot of light. Otherwise, the seedlings will grow anemically, and the stems will look very thin and weak. Too much light can shock the plant so finding the balance of light is very important.
> Soil. Over the years, I have experimented with several types of both Potting vs. Seed Starting. I have found seed starting is by far the best to use when planting seeds. The seed-starting soil isn’t nearly as coarse, and the particles are small and airy for healthy root expansion. I am a huge fan of Pro-Mix starting mix, and for transplanting into the hardening stage (more info on hardening below). You don’t need to add additional fertilizer to your seedlings, most seeds don’t need much in their early stage. If you do decide to add some fertilizer, it’s very important to dilute it in water to prevent burning your little seedlings.
> Spray bottle or homemade water source to keep your soil moist. When watering your seeds, you want to make sure not to overwater. I do mine once in the early morning before the light hits them. If the soil feels like a damp sponge when you touch it, then it has plenty of water. I have found a watering can is too much water for my seeds because too much water flows out at once. I have tried a spray bottle that gives enough water but what has been amazing is a simple plastic water bottle, or any bottle really, with holes added to the cap.
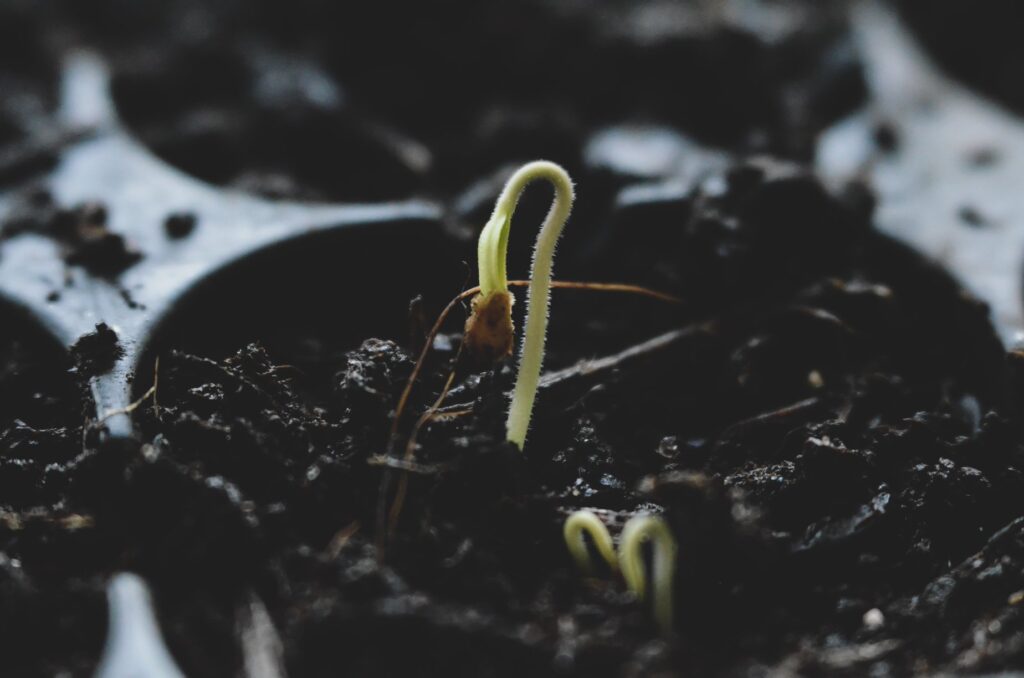
4. Wait
Most seeds germinate for 1-3 days, but it depends on the type of seed you buy and the temperature of your soil. Check the pack of seeds for a more estimated time.
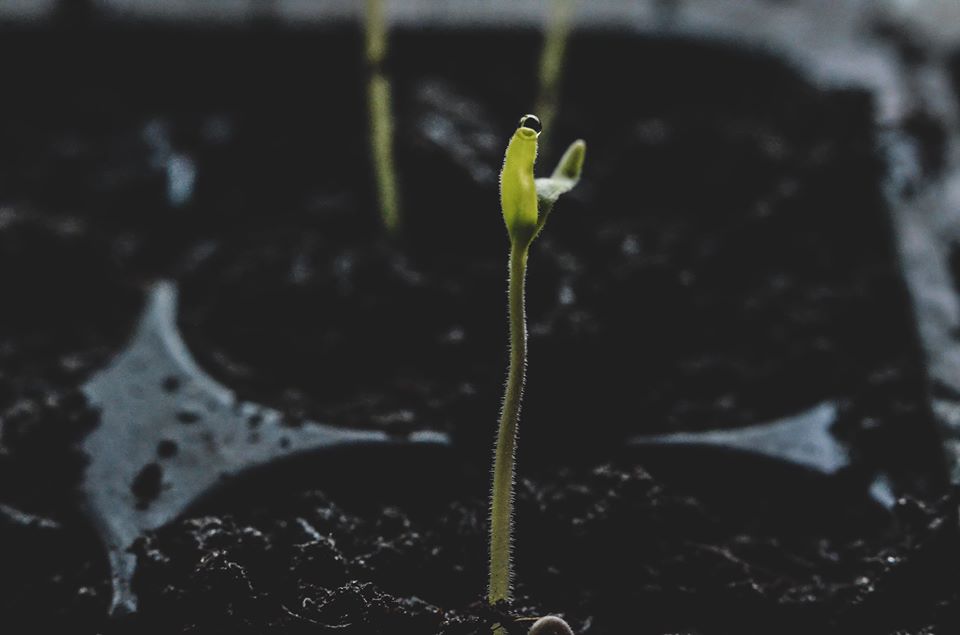
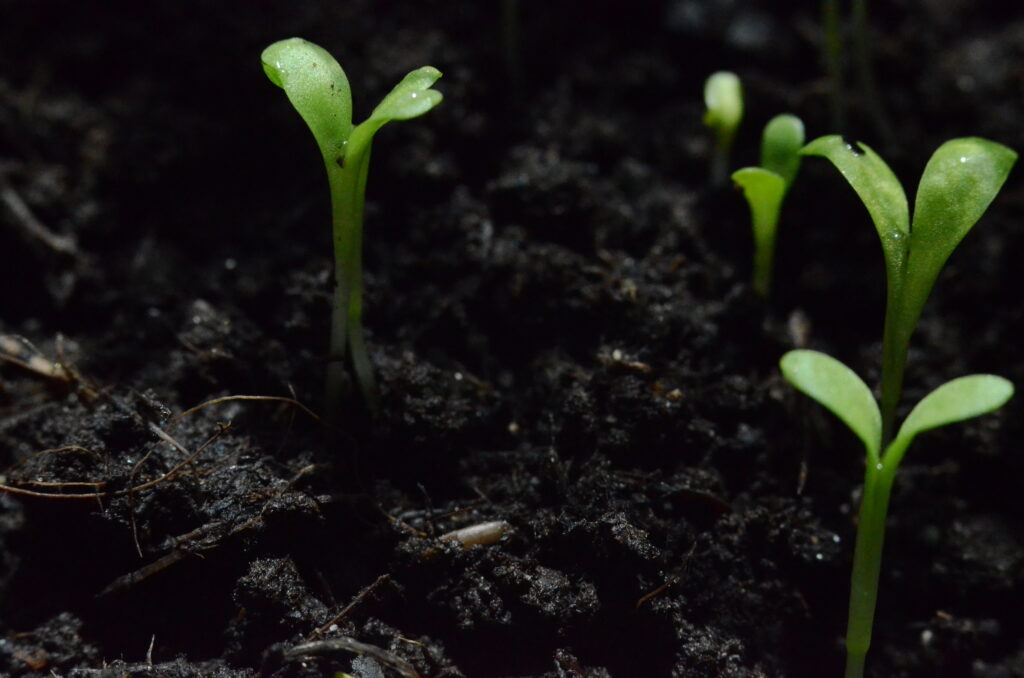
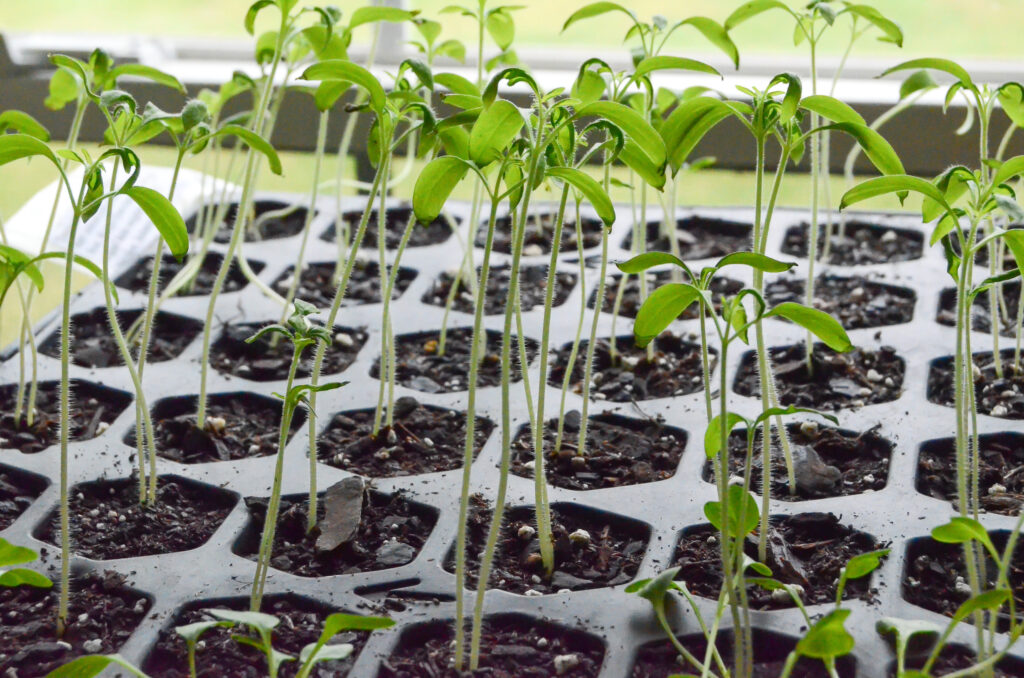
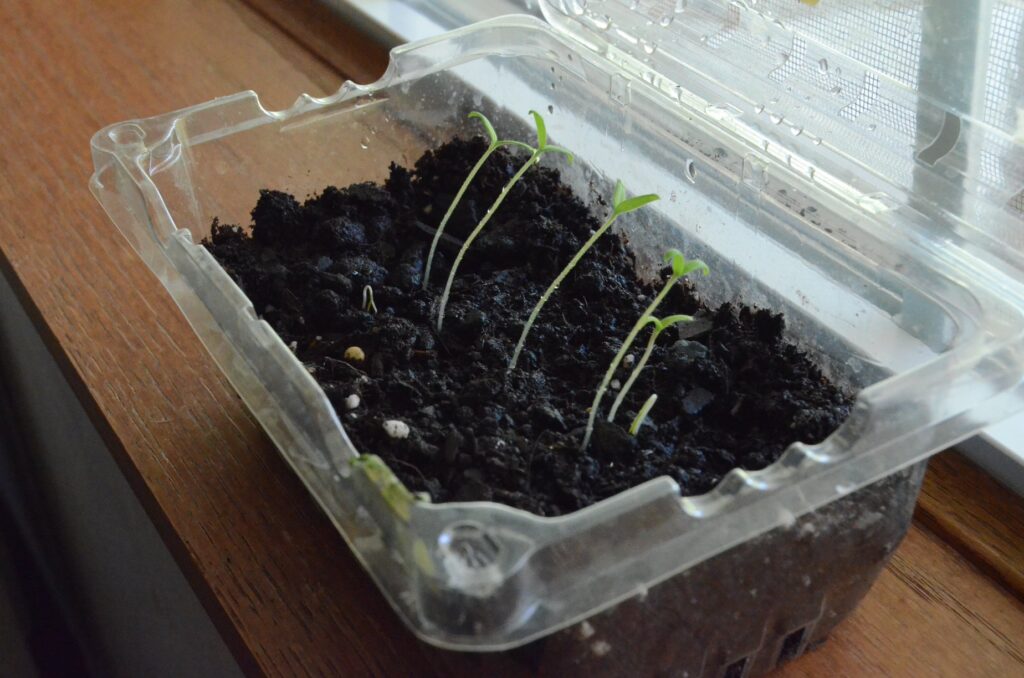
5. Thin out your tomato seedlings.
Sometimes when planting seeds, you can accidentally drop an extra seed or two, and it will grow. The old saying “two is better than one” is not so great in this case. I hate to remove those little seedlings, but it has to be done. If not both, or if there are more than two, they will each compete for nutrients, light, and water. Neither will reach full maturity. So what do you do when this happens?
First, find the strongest seedling and remove the rest. I use an X-acto knife and remove the weak one right near or above soil level so other roots will not be damaged in the process.
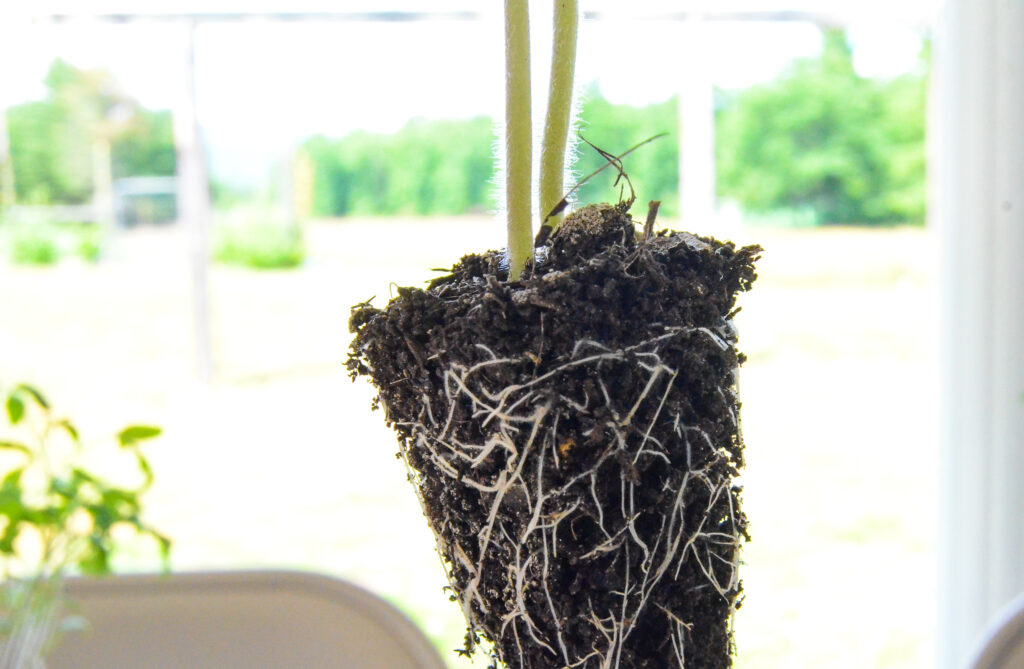

6. Harden Off Your Tomato Seedlings
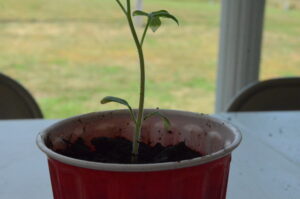
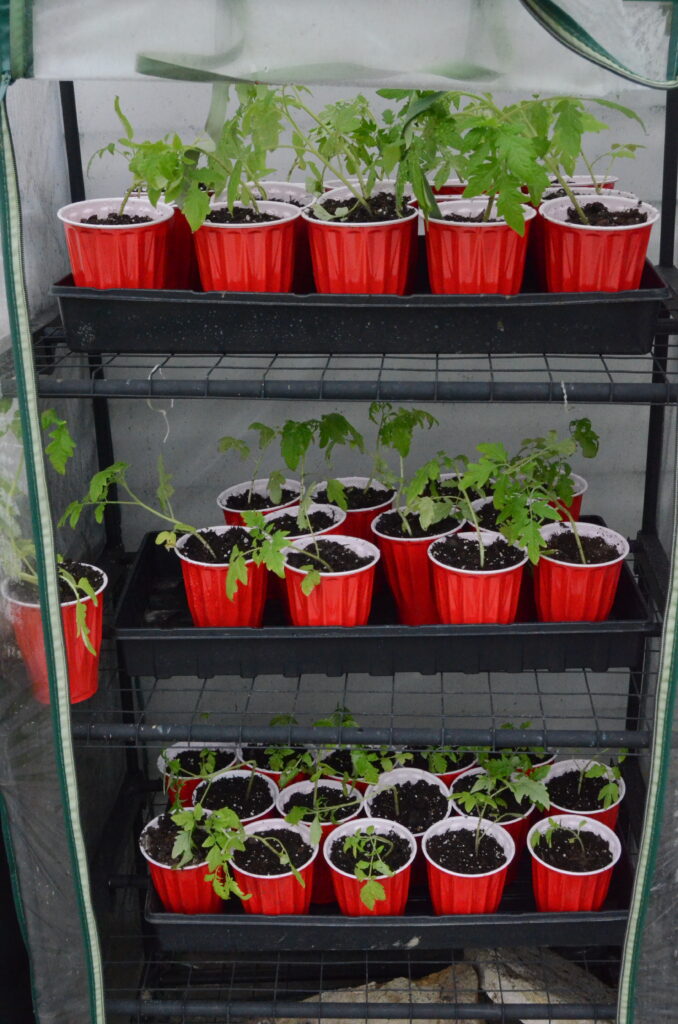
They are almost ready to plant! If you grow your seedlings indoors, you want to transition them into outdoor weather gradually. This is called hardening off your plants. When indoors, your plants are in a controlled temperature, and putting seedlings directly in the ground can cause them to shock or even kill the plant (especially if stems are not strong for windy days). When I harden mine off, I make sure to keep them well-watered. Avoid moving your plants outside when there is a risk of frost. Check the weather in your area until you see a constant pattern of nights being in the upper 50s and not below. This will kill or cause shock to your plants. I had this happen to me, it was devastating, and I lost a few baby tomato plants. I usually keep them in my small greenhouses, where I leave the plastic open during the hot days and closed at night. When tomato roots begin to grow out of their containers, I then move them into a larger container. Red Solo cups are great for this! (See my instructions below).
> Take an X-Acto knife and cut a small drainage hole on the bottom of a red solo cup.
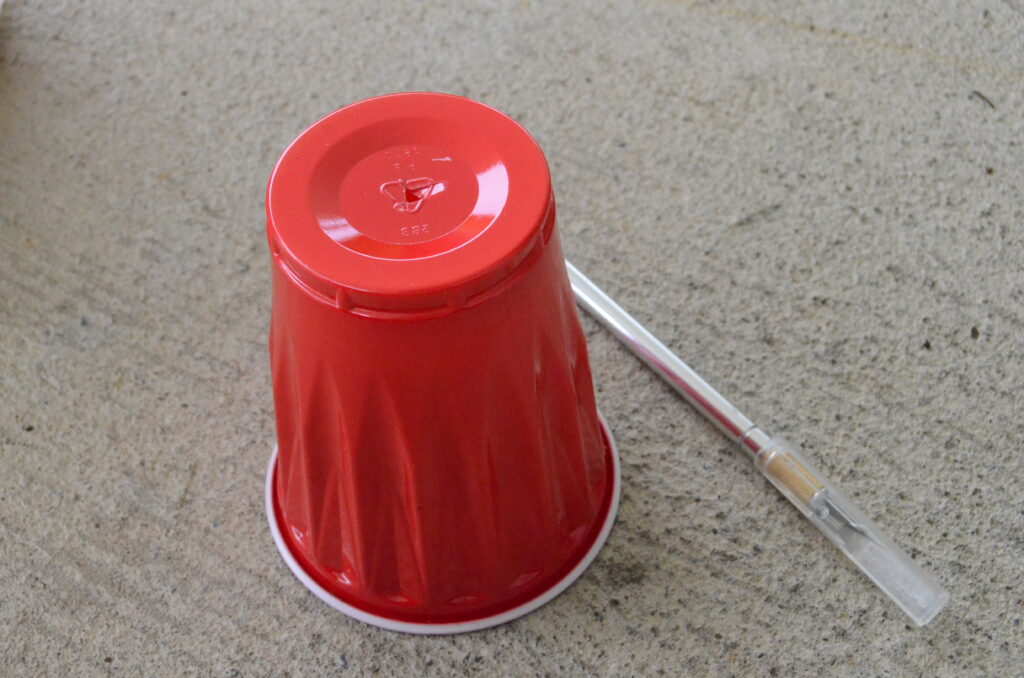
> Add About 2 Cups of Potting Soil. I first add one cup, then add my plant and fill the other cup around the plant.

> Make sure to Label Your Cup with the type of tomato! (You’ll remember for a day or two, but eventually, they look nearly identical to those other varieties around it).
> Place them in a shaded location or a greenhouse (click here to see the two I currently have). When in a Greenhouse, make sure to leave it open, so they have cooling airflow during hot days. Too much heat kills just as quickly as too much cold.
> Keep checking to see if they need water. When outside, they can dry up much quicker than in an inside controlled temperature environment.
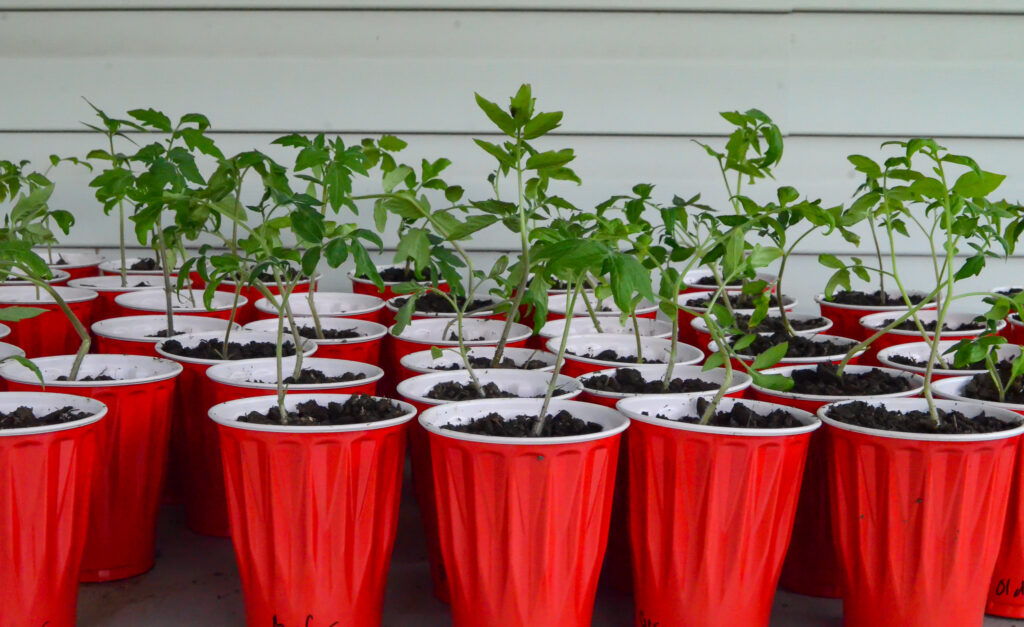
7. Transplant
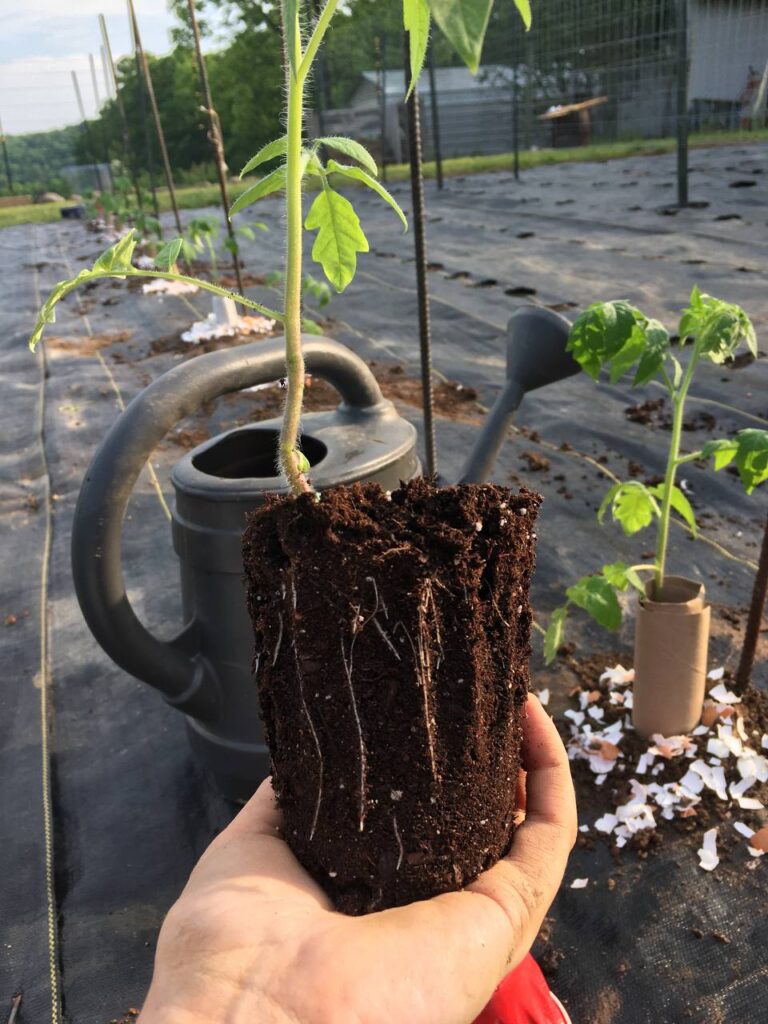
It’s time to plant! A few things to consider when transplanting. I transplant in the evenings or on an overcast day to avoid direct heat on the plants as they go in the ground. This can be too harsh on the plant, causing shock. Also, never plant anything in soil that is muddy or soaked, the soil will cake up and be compacted. This will leave less room for water and air to penetrate through to the roots of the plant, making it harder to absorb the nutrients and air. (See instructions below on how to transplant)
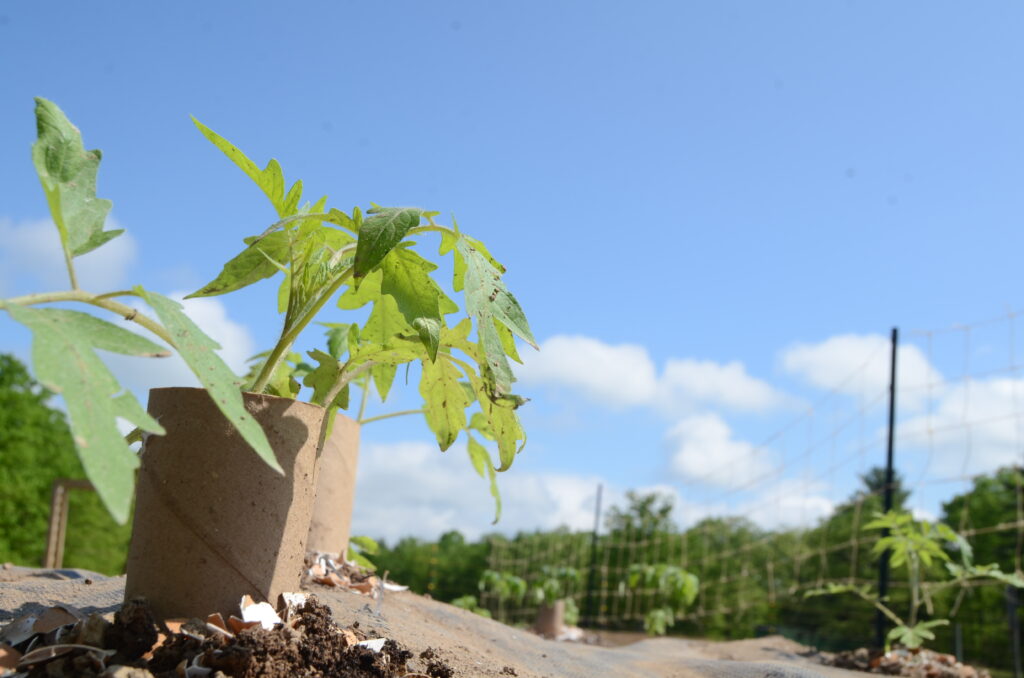
Gather Materials: Hand Shovel or Bulb Planter, Water Can with water, Compost/or fertilizer of your choice (crushed eggshells), gloves, stakes, or toilet paper tubes.
> Dig a Deep Hole: make a hole deep enough to cover just a little above the root ball to cover all roots. You can plant verticle or at a 45º angle. I personally use the verticle because I’m familiar with it and has always worked great for me. Try experimenting to see which produces more tomatoes for you.
> Remove Bottom Leaves off Plant: I do this so no leaves touch the ground to cause blithe or rot from the ground.
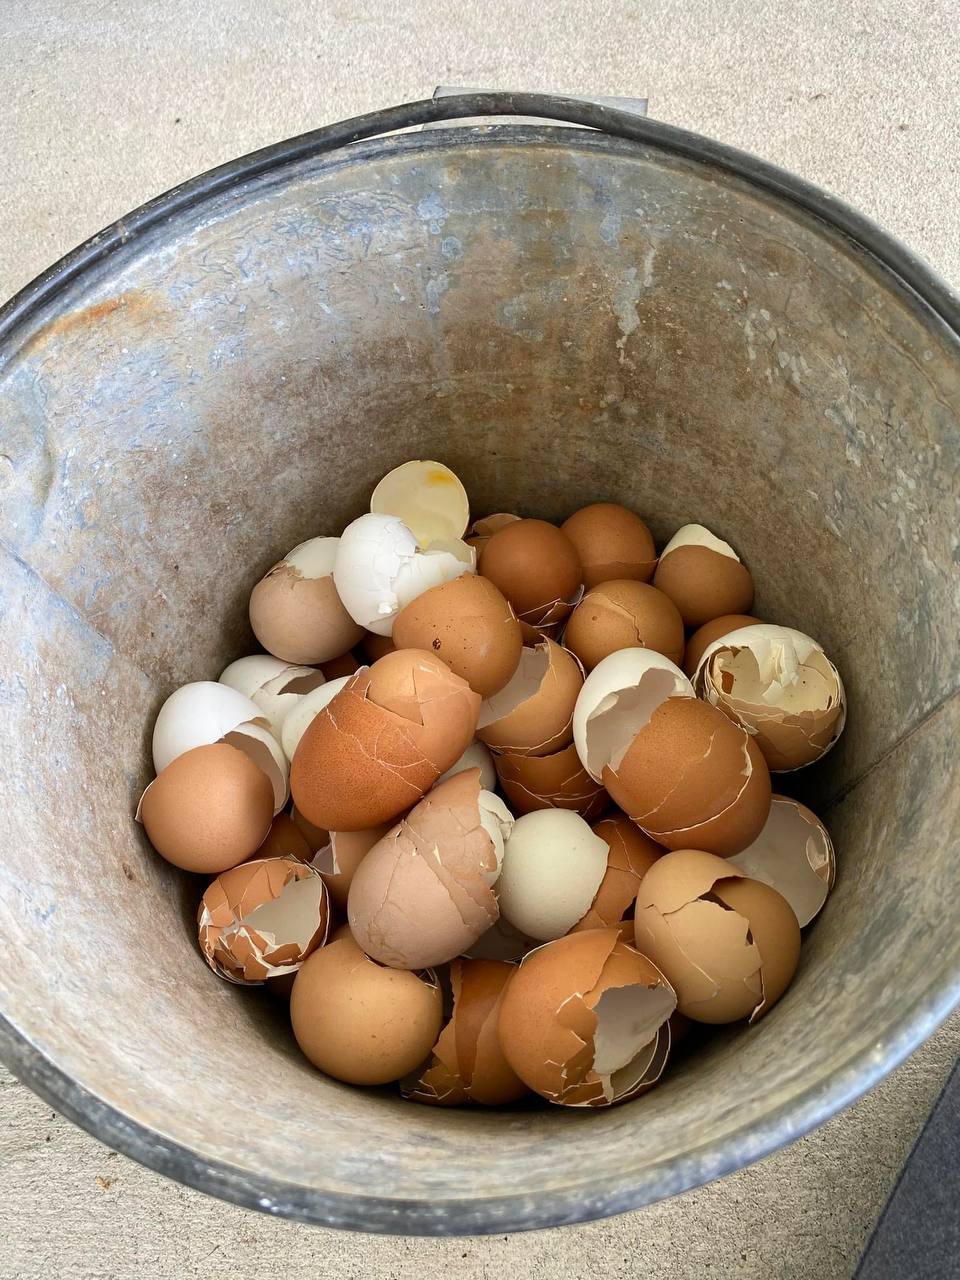
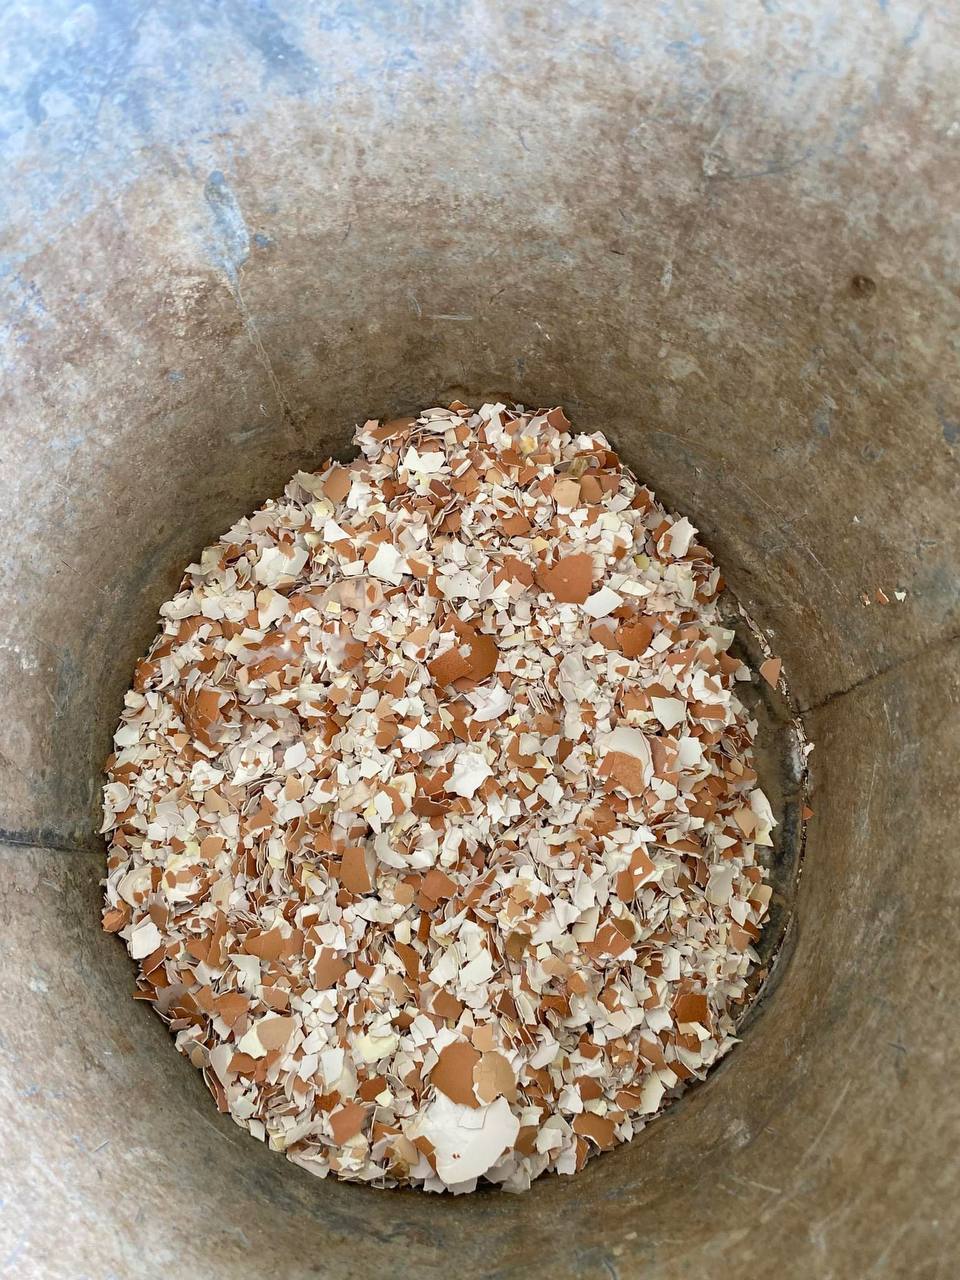
>Add Compost of Your Choice: I use crushed eggshells I save over the months after being rinsed out and crushed.
>Add Water: Add enough water to fill halfway up the hole if water doesn’t drain quickly add more water to encourage root growth.
>Remove Your Plant: Be very gentle with removing your plant. It helps to squeeze the bottom and sides of my cups to help coax it along and remove it from the sides of the container. Avoid pulling the stems, this can break or damage your plant.
> Place Plant in Hole: and cover with dirt used to make the hole. Fill the dirt around the plant to where it’s at ground level surrounding the plant.
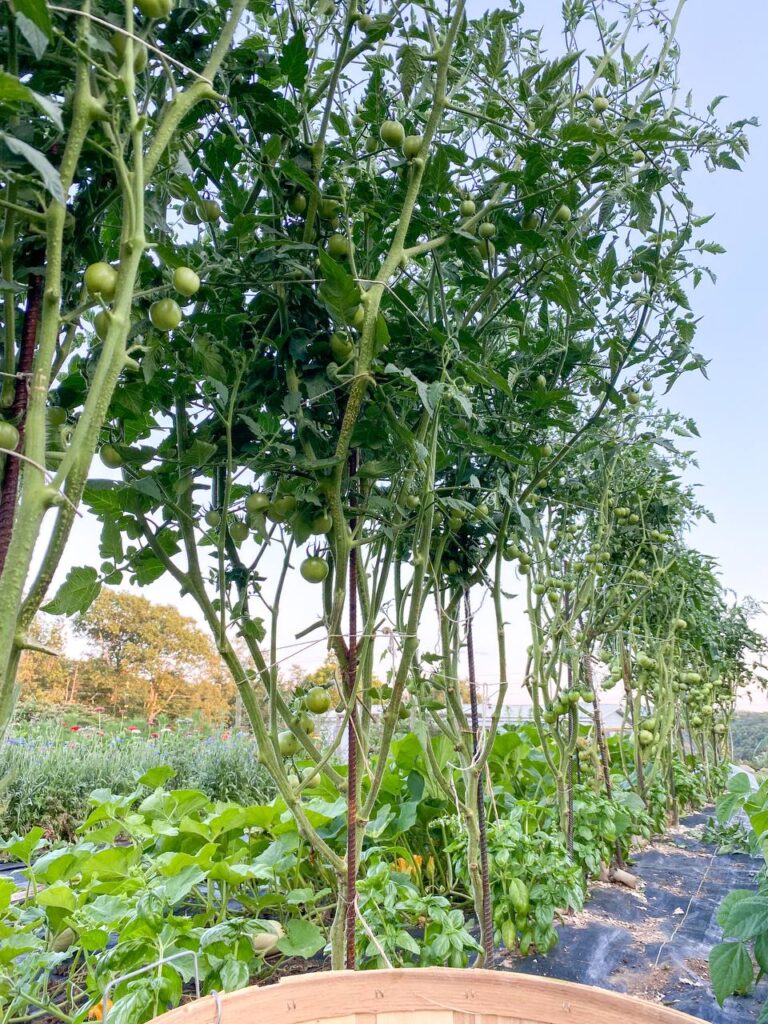
>Add Support: For extra support, you can add toilet paper rolls around the plant until it’s sturdy enough to be staked up with rebar or tomato stakes. This will also help with cutworms to your stems. Simply cut the roll enough and push it about 1/2″ into the soil so it has support. Place steaks or supports in the ground before roots really start to take off. Doing this now will prevent the hassle of damaging your plant later when its roots and growth are well established. We use rebar with the Florida weave to support our tomatoes. After years of trying cages, wooden steaks, we found rebar was an upfront expense but lasts longer and is very sturdy. We plant many tomatoes so we needed something strong to hold the weight.
>Water your plant: Water plant on days there is no rain. Only water to saturate and not form a puddle. I love days when it rains and waters the plant for me.
8. Keep Tomatoes Healthy
As plants grow, you want to remove any bottom leaves from touching the ground and surround the plant with mulch or a weed barrier. Weeds will take away from the plant’s nutrients and could potentially choke out your plant. I also like to plant basil in between my plants to reduce the chance of tobacco worms and add flavor to my tomatoes.
Adding Crushed Eggshells is also an extra layer of protection. Shells will help deter slug eggs. Shells also have many nutrients, however, shells take a long time to break down. Nutrients that can both energize your tomato plants and protect them from blossom end rot.

This was a tomato worm we found in our garden the second year. The sooner you can find these and eliminate them, the better. (Copyright: Please credit Hope and WIldflowers for the photo if you use it. Thanks!)
What are some of your favorite tomatoes types? Share with us in the comments below! I hope these tips help you with planting your tomatoes!


