
Winter Jug Seed Sowing

I decided to try my hand at Winter Jug Seed Sowing this winter. I have to say I am so impressed with the results and look forward to doing this again next year. This not only freed up space in the greenhouse, but I also was able to get a head start. Seedlings will be ready to go in the ground as soon as the soil warms up and we have our last frost. These jugs are just like mini-greenhouses and can be started any time during the winter and left out for nature to do the rest until it is time to plant!

What You Need to Sow Seeds in Jugs
- Plastic Jugs (Washed Out and Cleaned)
- Hot Glue Gun or Drill Bit for Drainage Holes
- Scissors
- Damp Potting Seed Starting Mix
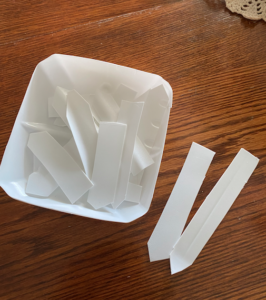
- Labels
- Marker
- Duct Tape
- Seeds
Let’s Begin!
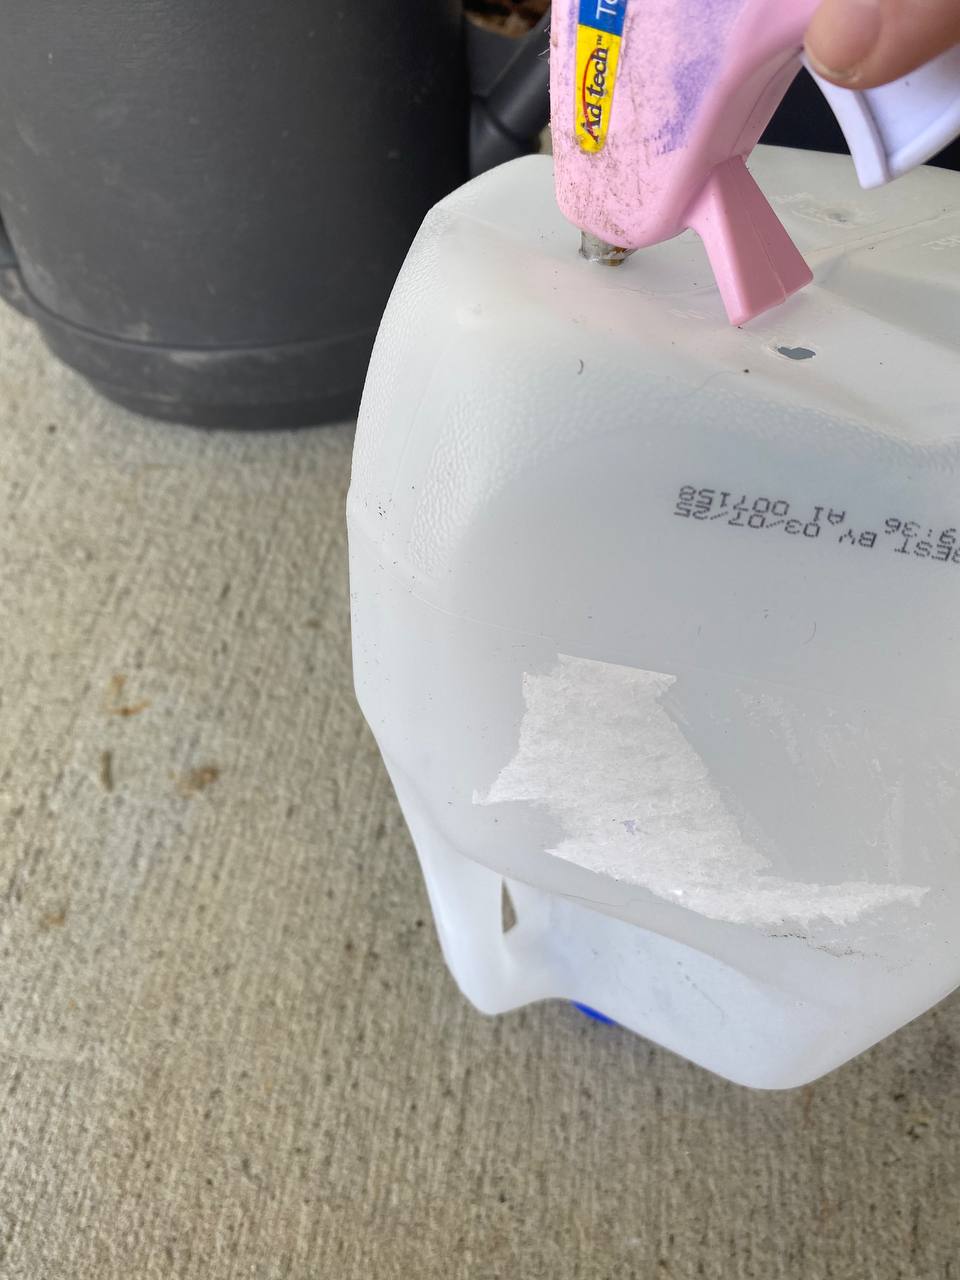
After washing your water jugs, it is time to add drainage holes. You can do this with a hot glue gun, screwdriver, or drill.
First, poke at least four drainage holes on the bottom.
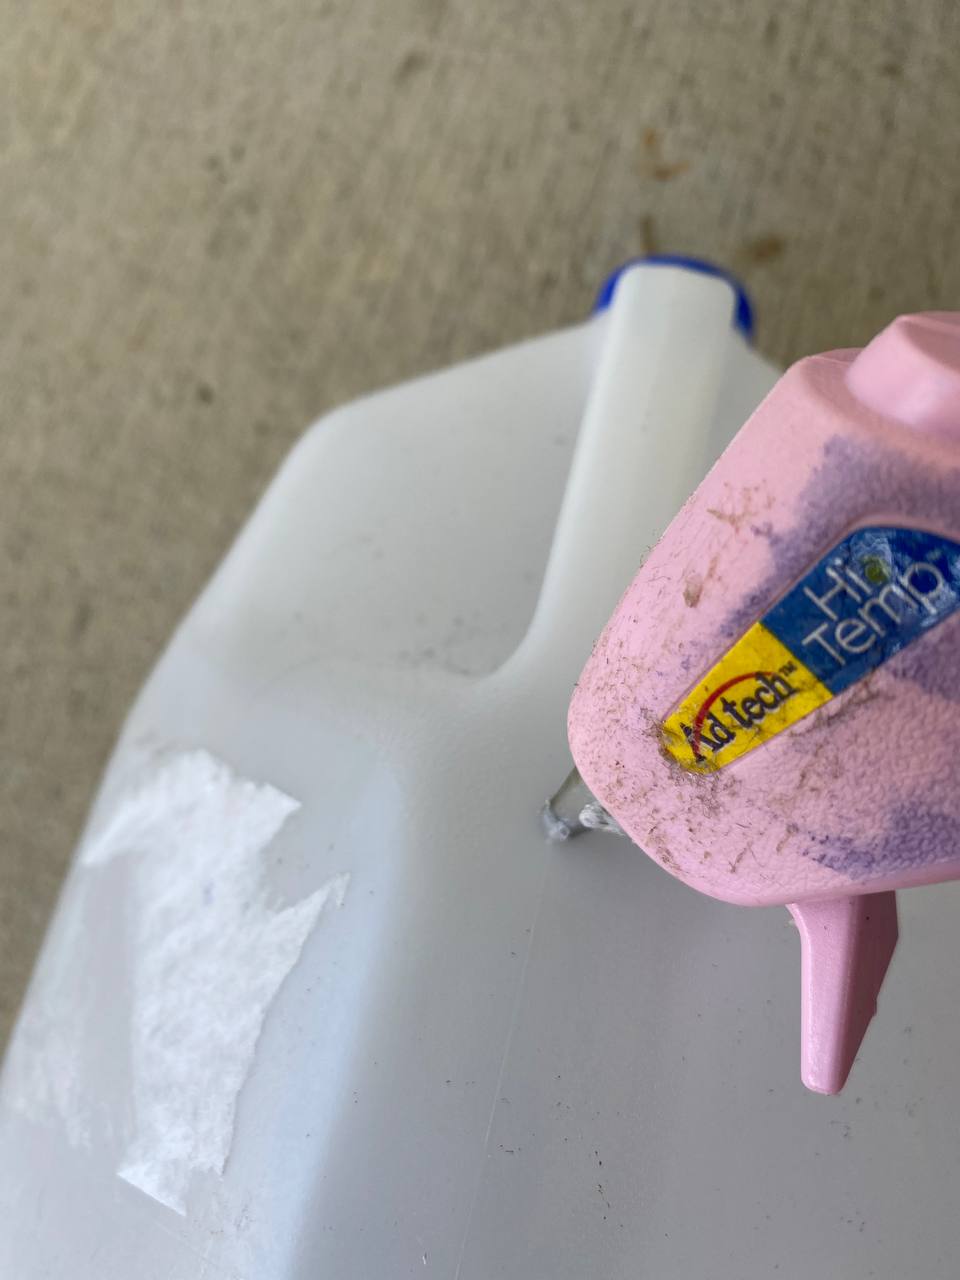
Next, add another hole about 4″ from the bottom. This hole will cut the jug open to make a hinge.
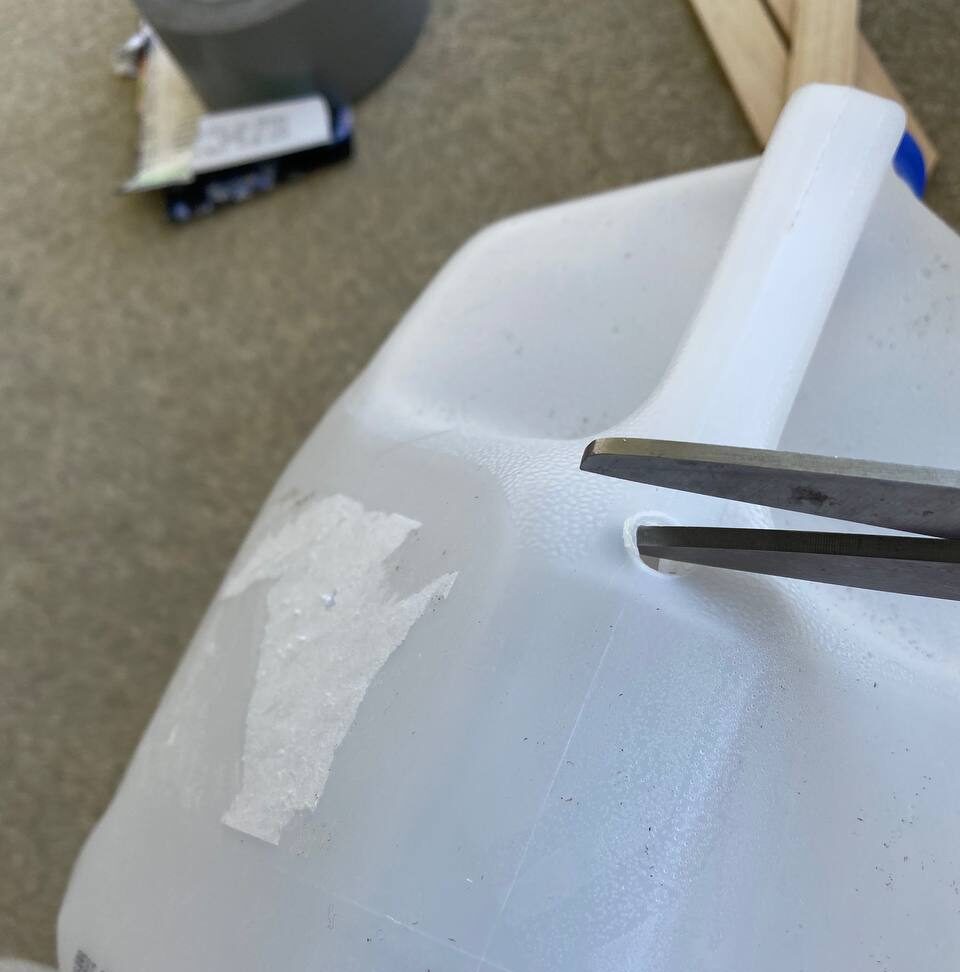
Cut all away around the jug, except for about an inch in the back. Leave this inch intact to make a hinge to lift open the jug.

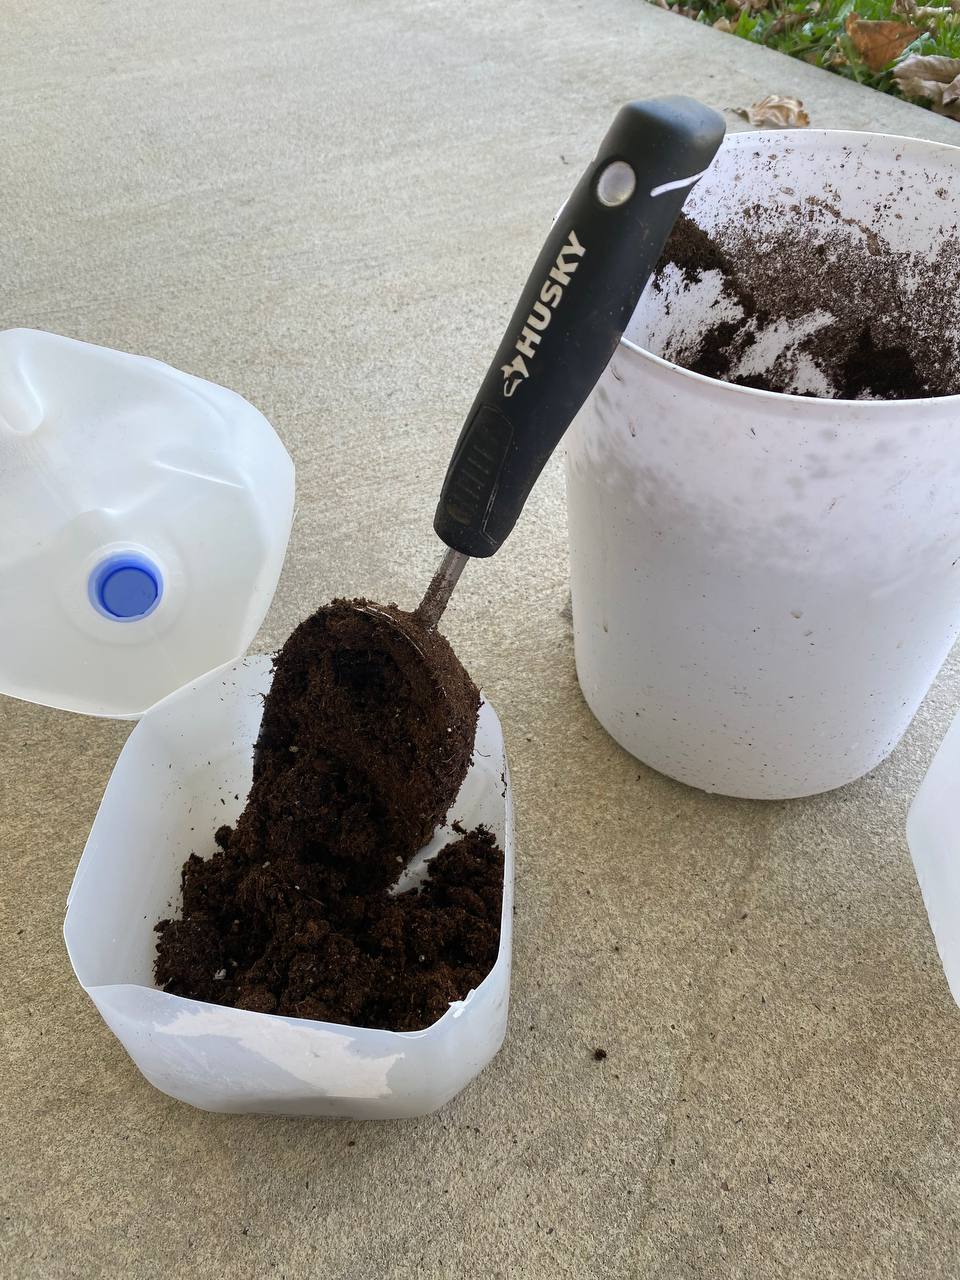
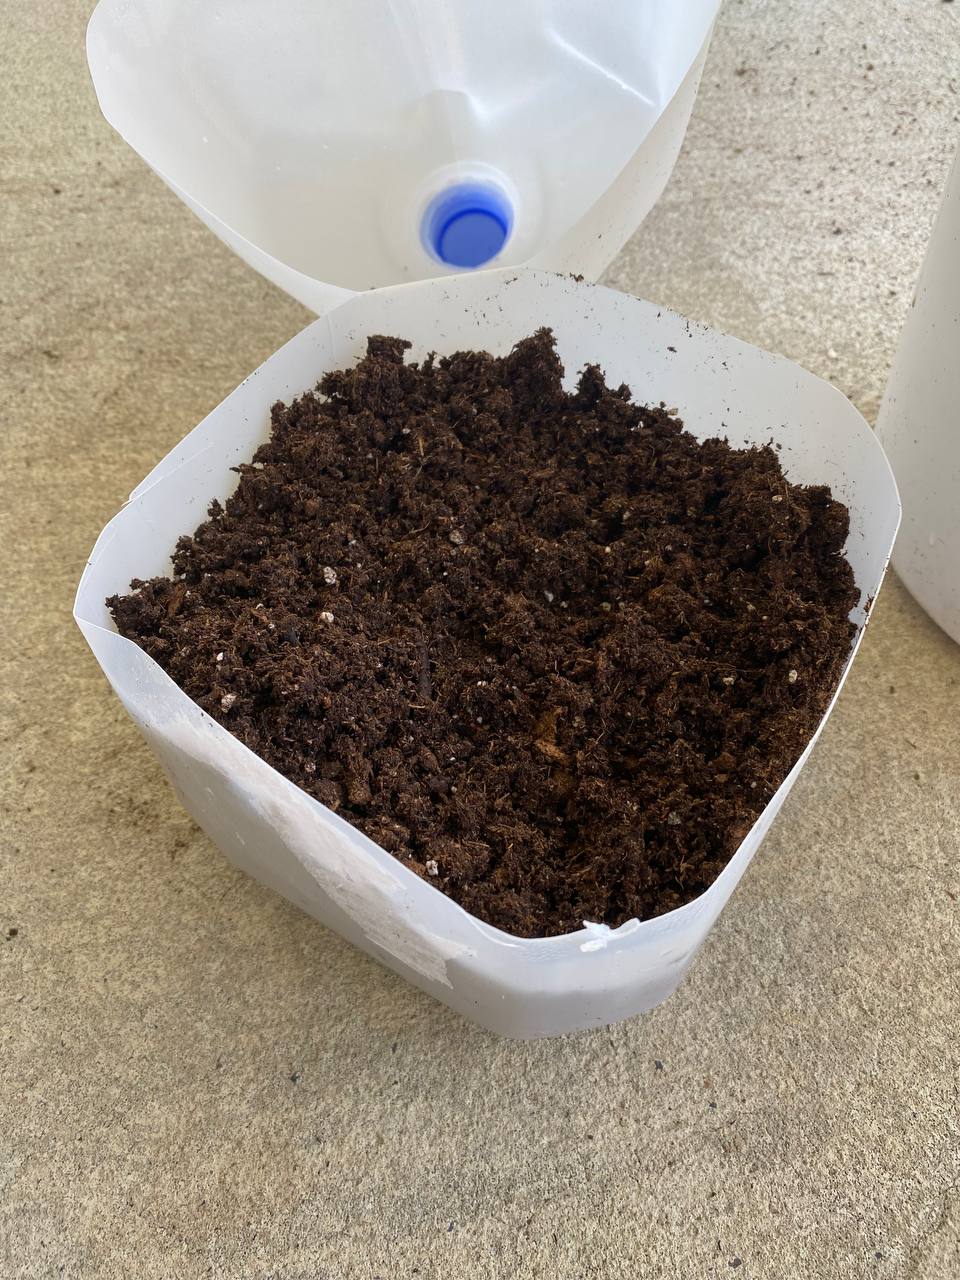
After a hinge is made, it is time to dampen your soil to place it in the bottom. I first pre-dampen soil in a container ( I am using a small trashcan from dollar tree, which Works fantastic for mixing soil). I first add some soil and use a hose to spray some water and mix.
It is important to make sure your soil is not dripping wet. To test this, add small amounts of water at a time and try to hold a ball of soil in your hand. If it stays intact and holds its shape, and not dripping, this is ideal.
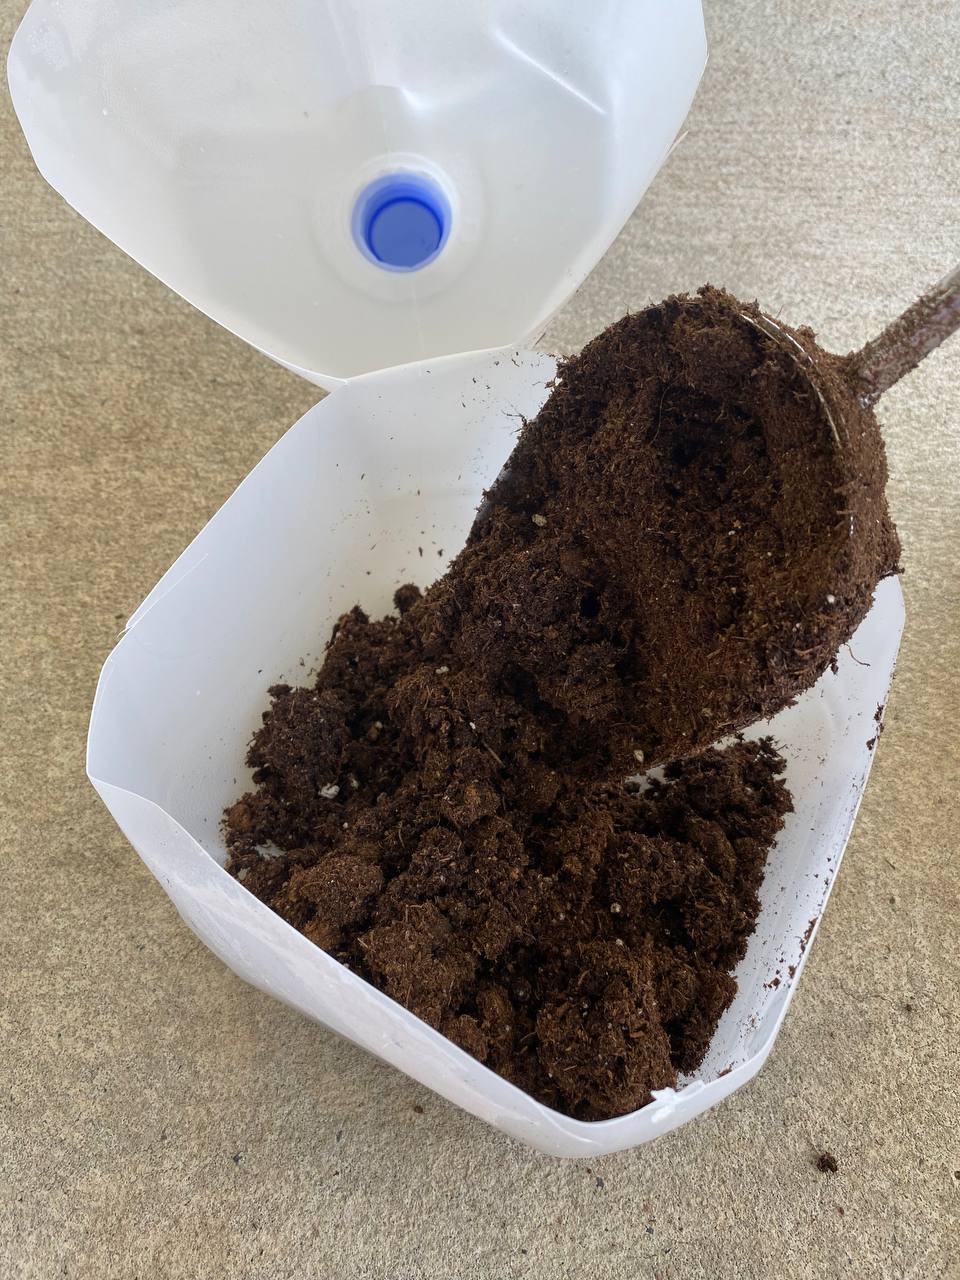
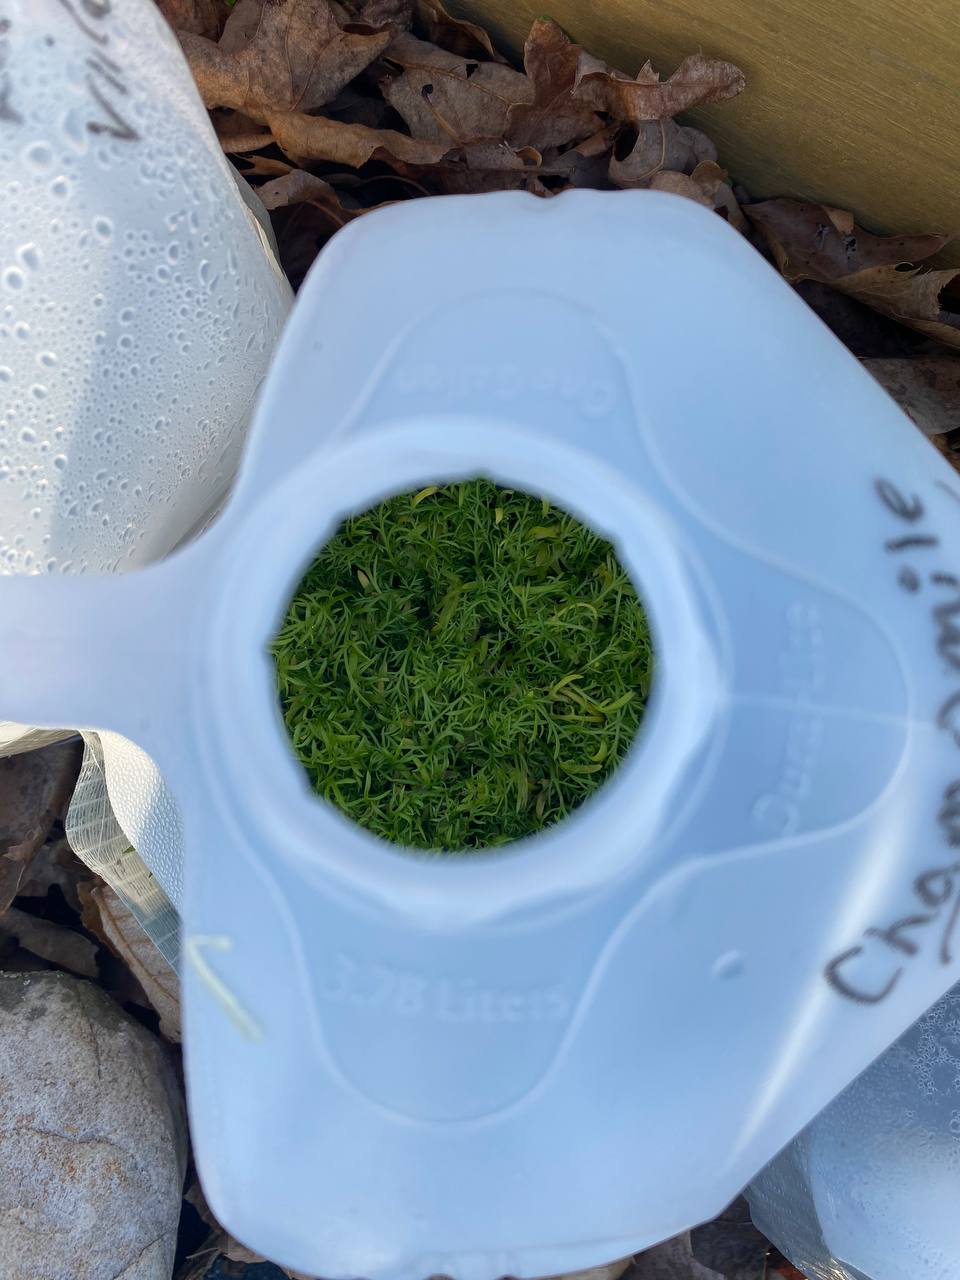
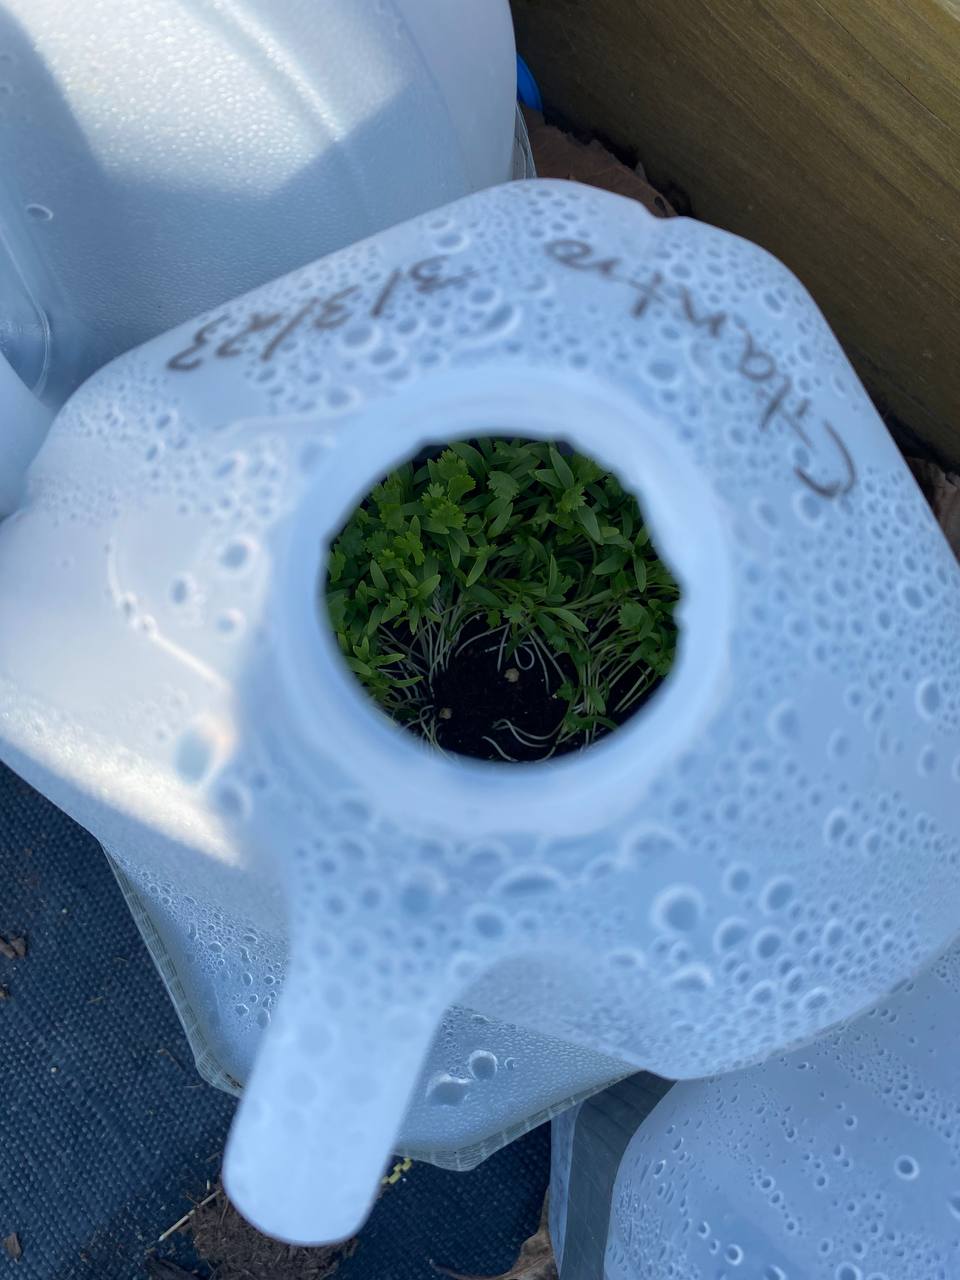
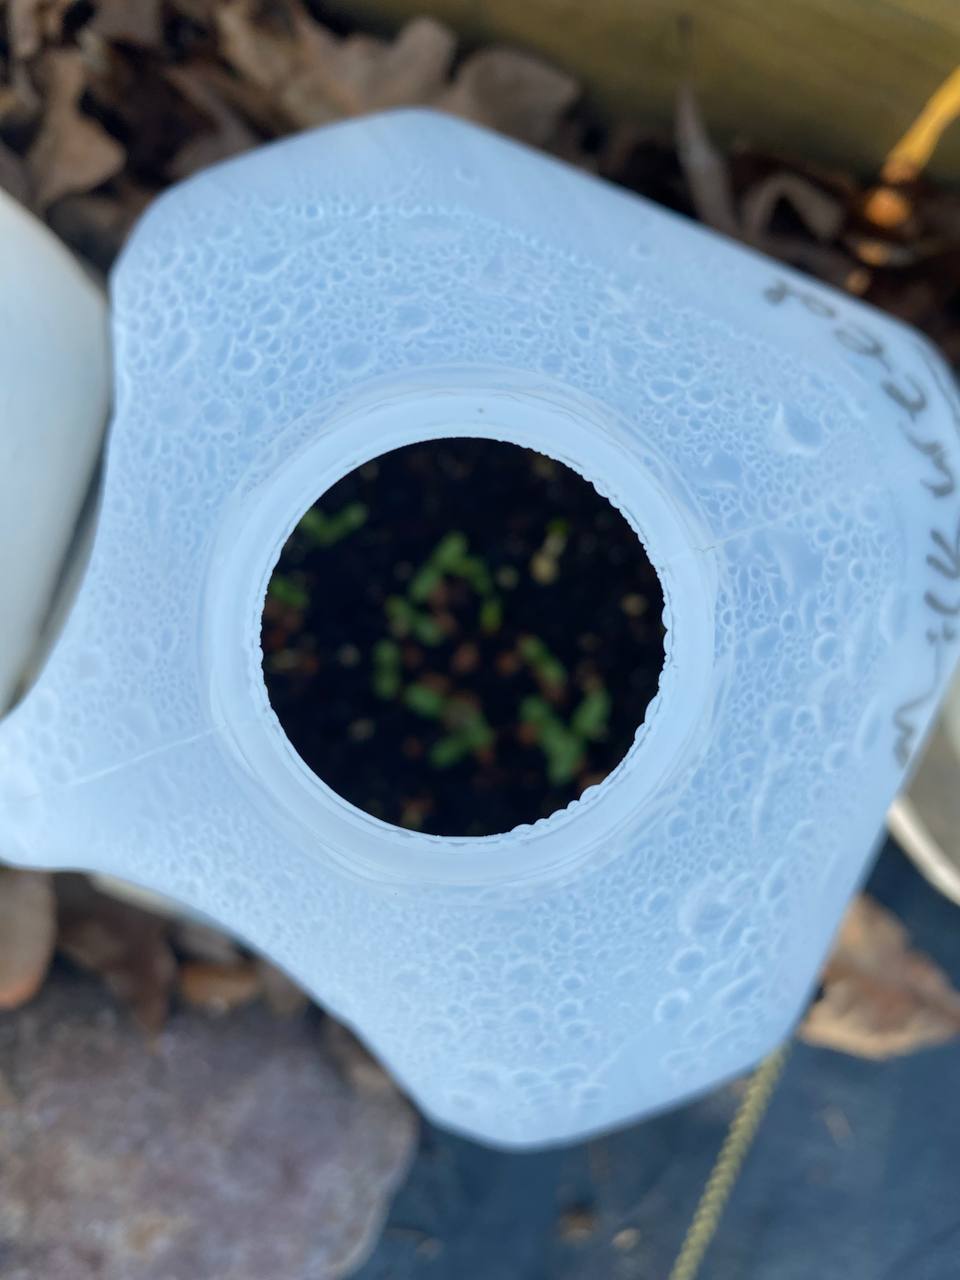
Plant the seeds as directed on the back of your seed pack. I like to plant seeds a little thick since I will separate them when planting in the spring. You can choose how much or how little to plant inside your jug.
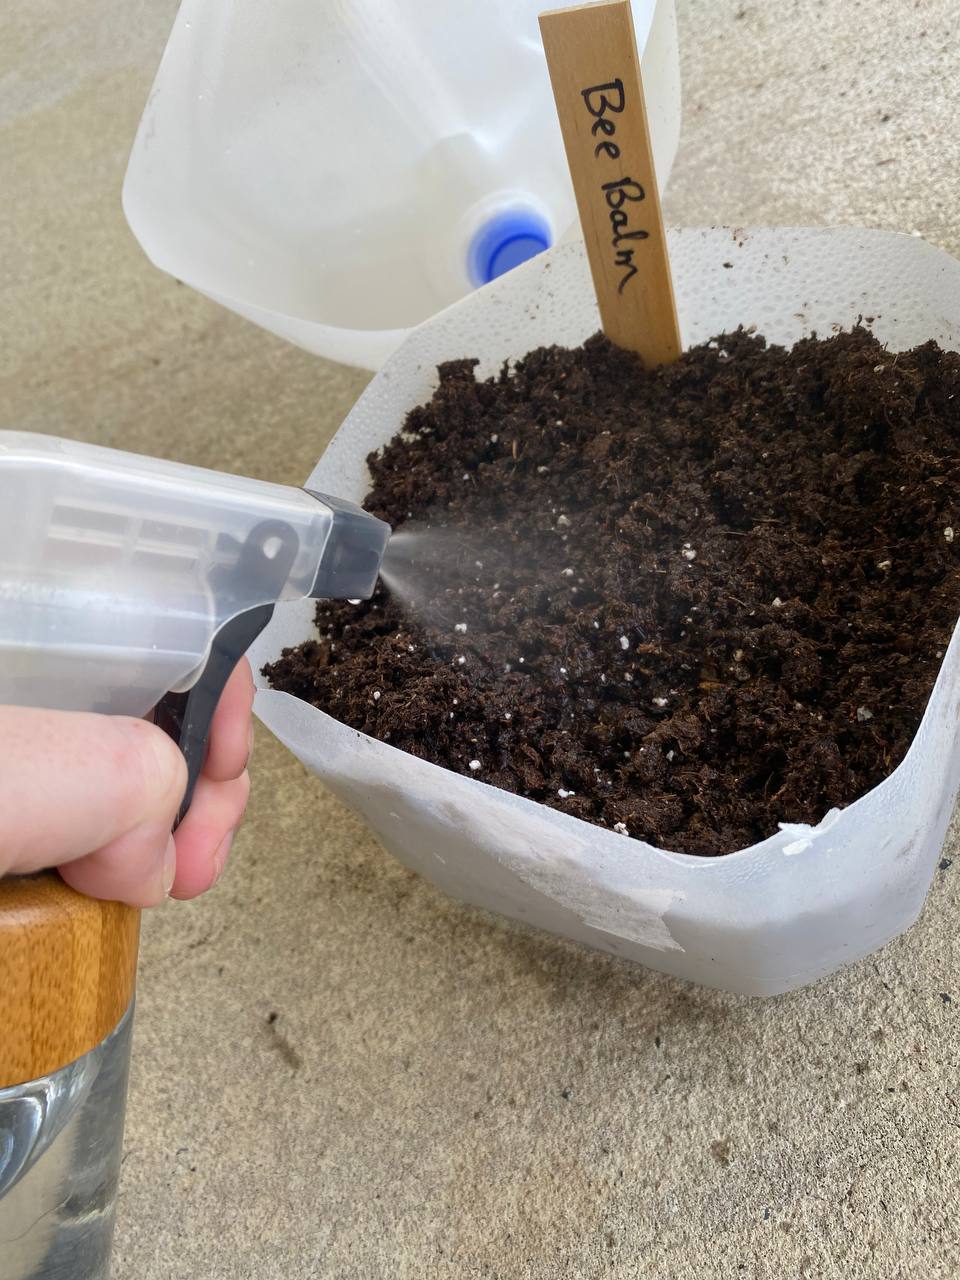
After planting seeds, mist the soil so the top 1″ is damp. This is also an excellent time to place a label inside to have ready for when you transplant them. If you don’t have labels, you can use a jug for this, also!


Now you can tape your jug closed with some duct tape. Wrap the tape all away around the jug to seal it shut.
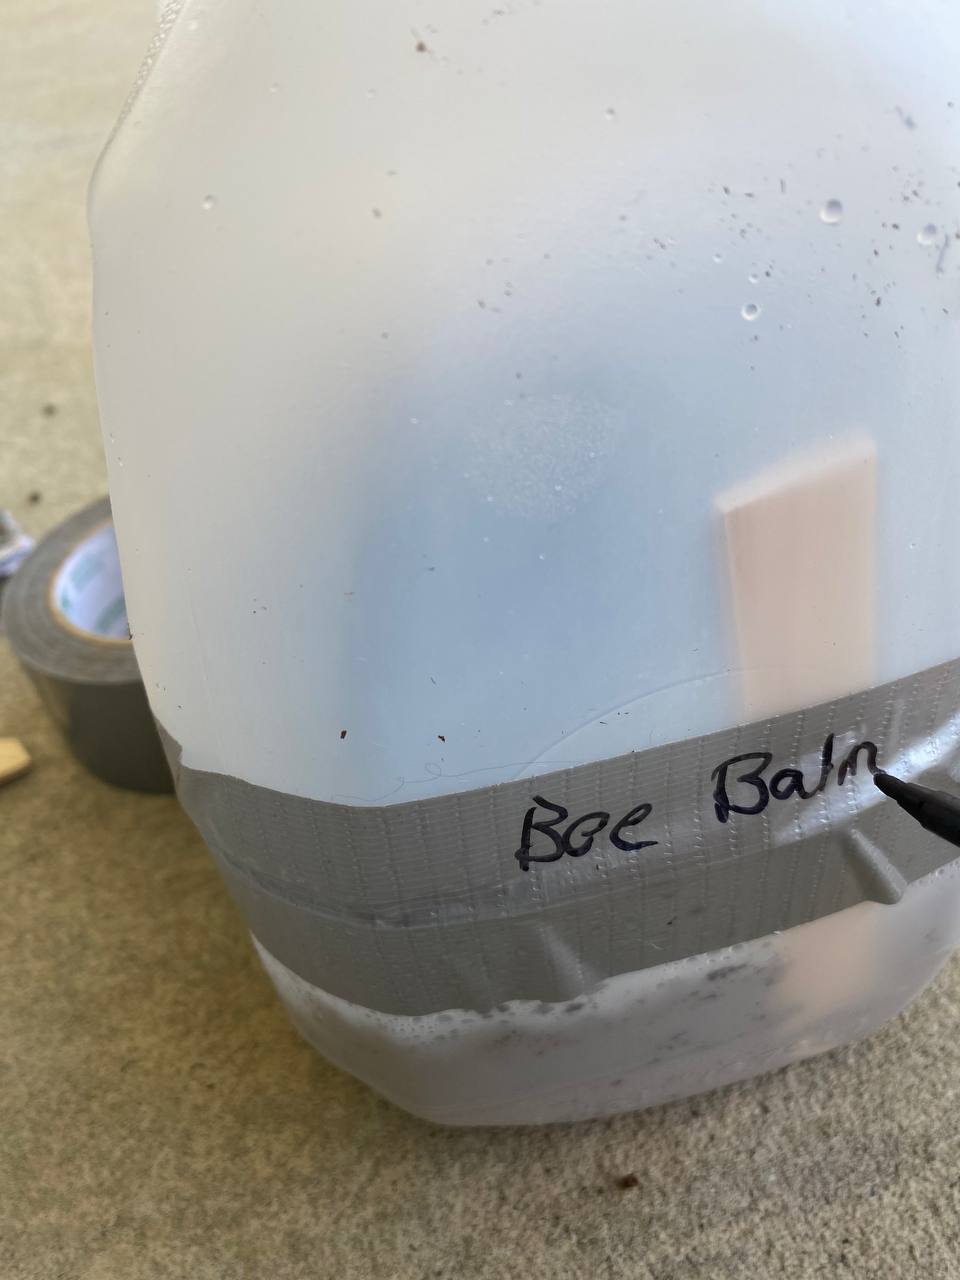
Label and date your jug by using duct tape as a label.
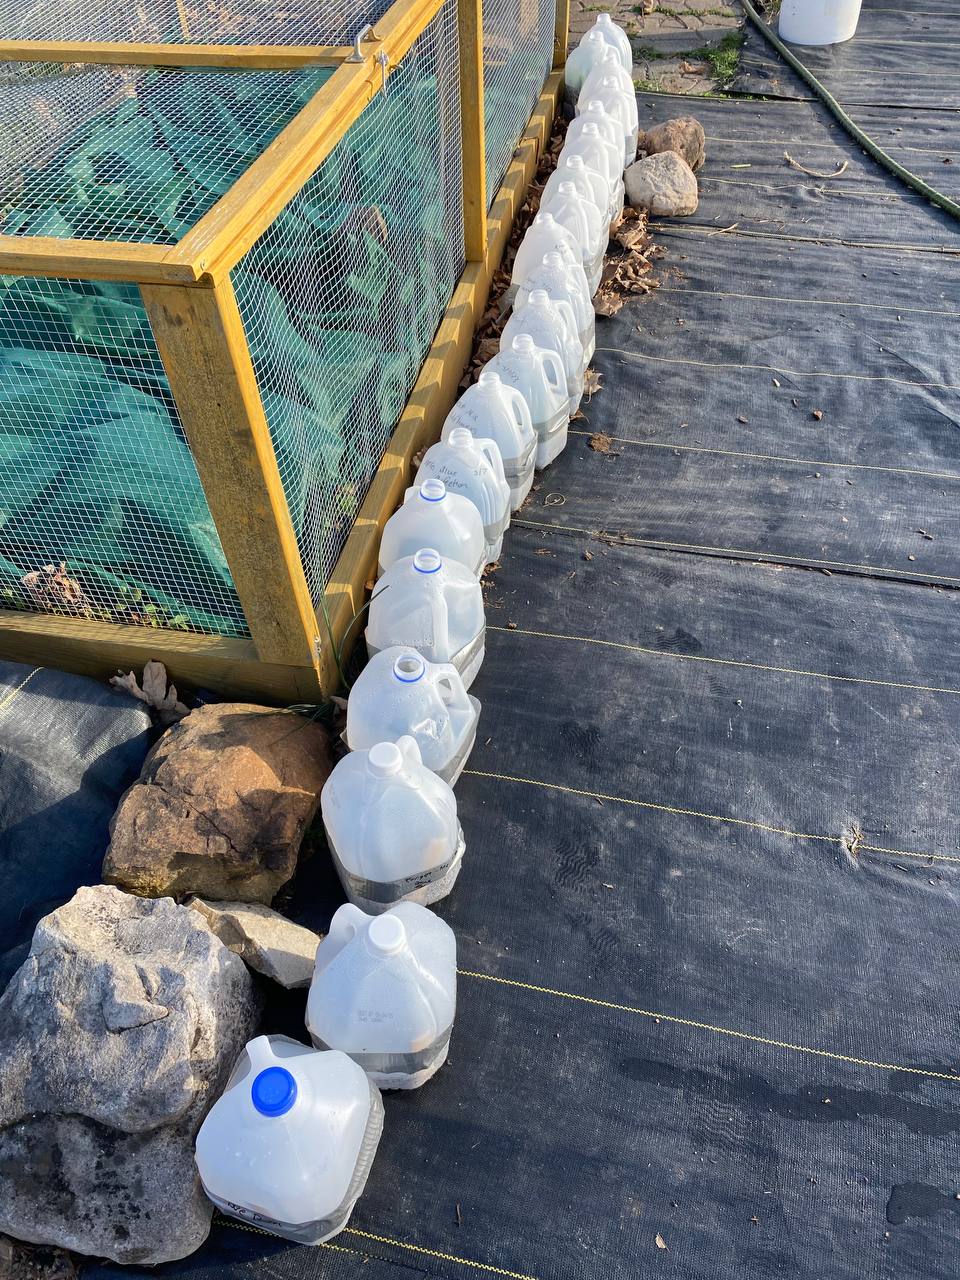
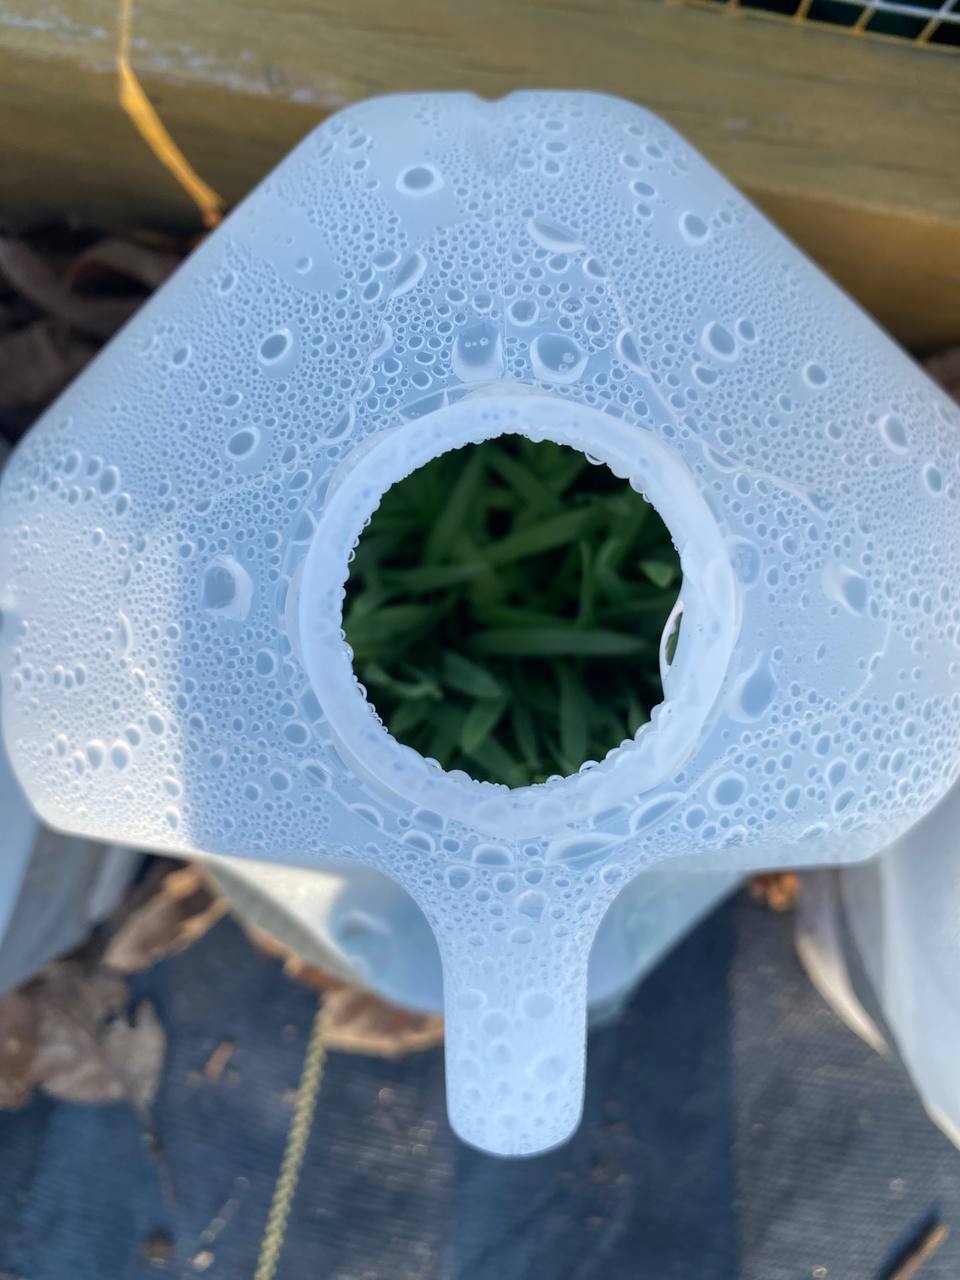
After you duct tape your jug(s), leave your cap on until the seeds have germinated. After the seeds germinate, remove the cap to allow air and rain to circulate inside. Ensure your jugs are in a location that receives full sun and will receive rain.
After seeds germinate, watch them closely on warm sunny days. If caps are still on, remove the caps to keep air flowing and from seeding, scorching, or cooking in the sun. We have had some 80-degree days or warmer already, so I keep a close eye on them and water them as needed. If the soil looks dry and is not calling for rain, you can water your seedlings using a mist setting on a hose, spray bottle, watering can, or a plastic water bottle with holes in the cap.
Do this until it is time to plant in your zone and all danger of frost has passed, or temperatures are in the 50s at night.
You can plant any seeds using this method. Perennials, Annuals, Herbs, Flowers, any source!
So far, this has been a huge success, and look forward to doing this again!
Jugs out on March 12th when it was starting to sleet.
Happy Growing!

