
Sprouting Success: A Step-by-Step Guide to Starting Garden Seeds Indoors
Starting garden seeds indoors is a great way to get a head start on the growing season. Here’s an eight in-depth step-by-step guide on how to do it:
1. Choose the right seeds: Not all seeds are suitable for indoor starting.
When choosing what seeds are best for you and when to start your seeds indoors, first look up what growing zone you are in. Look for seeds that are marked as “indoor start” or “early start”. Next, visit your local extension office website, Farmers Almanac, a local garden friend, a greenhouse, or a nursery to determine which seeds to start in your area.
Some places to name a few, that I have had great success with germination customer service for my seeds and highly recommend are:
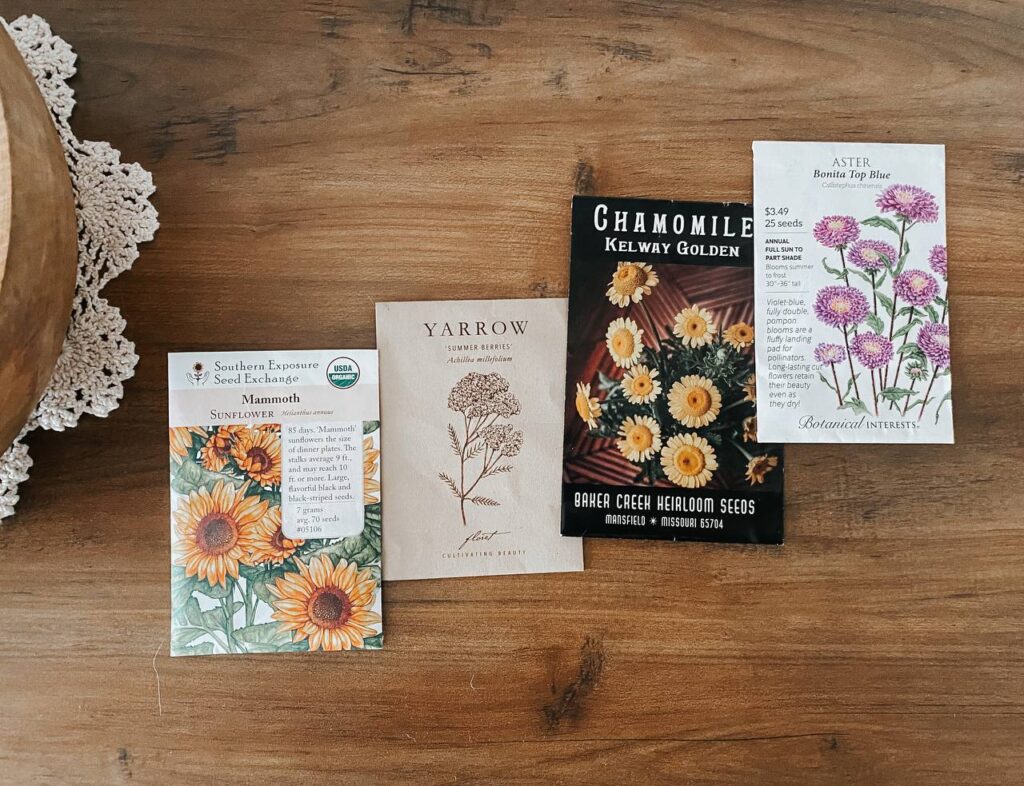
> Botanical Interest
> Baker Creek Heirloom Seeds
> Johnny’s Selected Seeds
> Floret
> American Meadows
> Swallowtail Garden Seeds
> Southern Exposure Seed Exchange

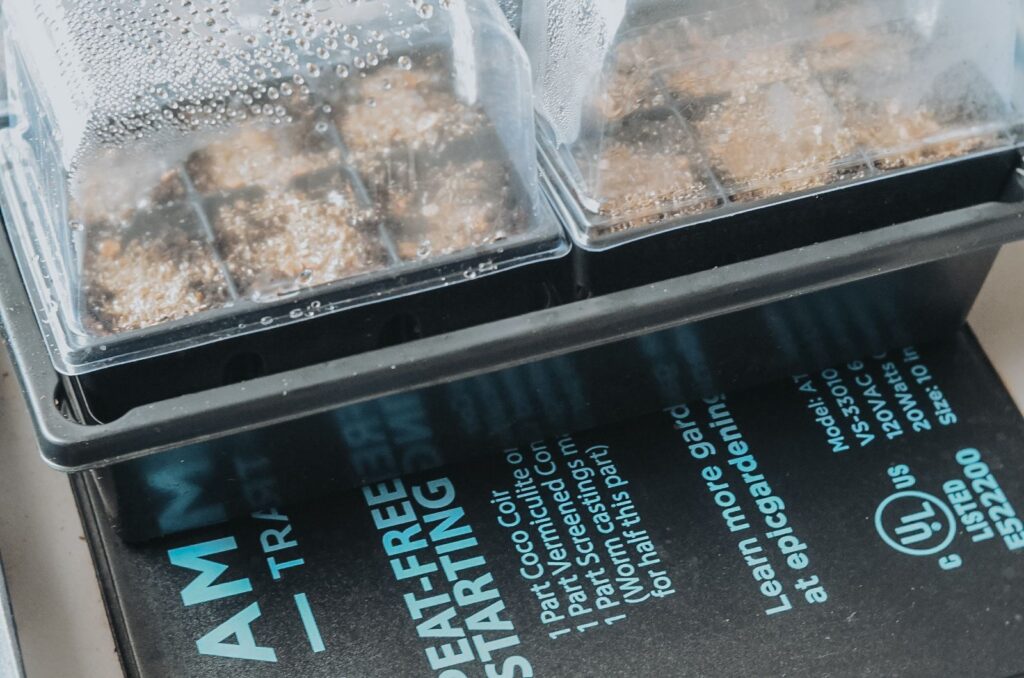
2. Prepare the containers: Use small pots or seed trays with drainage holes to plant your seeds.
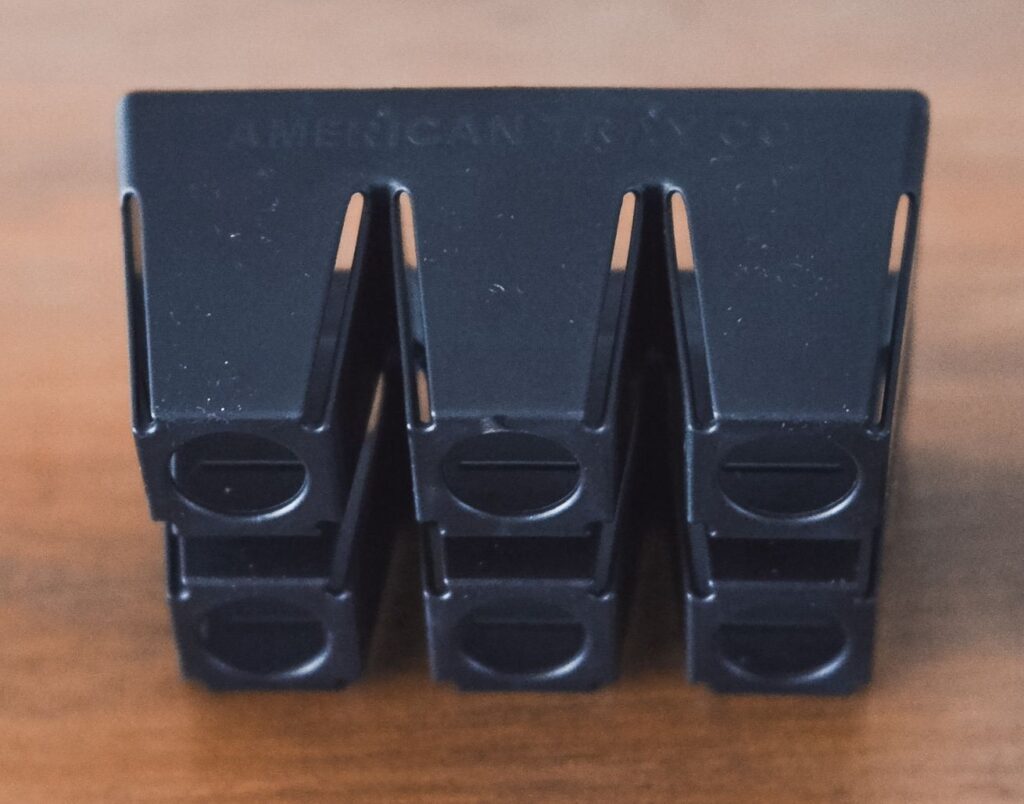
By far some of the best seed starters I have ever purchased are either from Epic Gardening or Bootstrap Farmer. I will no longer be wasting money on flimsy seed starters again. After using these seed cell starters and trays I was so impressed with the root system of my plants, the durability of the containers and the trays, as well as how easy they were to clean and put back into storage. If you are on a tight budget there are other alternatives to starting seeds such as Winter Jug Seed sowing. Before staring seeds make sure your containers are clean to keep the spread of bacteria using diluted bleach or hot soap and water.
Need to Order your Seed Starting Tray and Cells? Check out Epic Gardening! Shop HERE
Use our Affiliate Code: HOPE.AND.WILDFLOWERS5 to receive 5% off your purchase of no sale items.
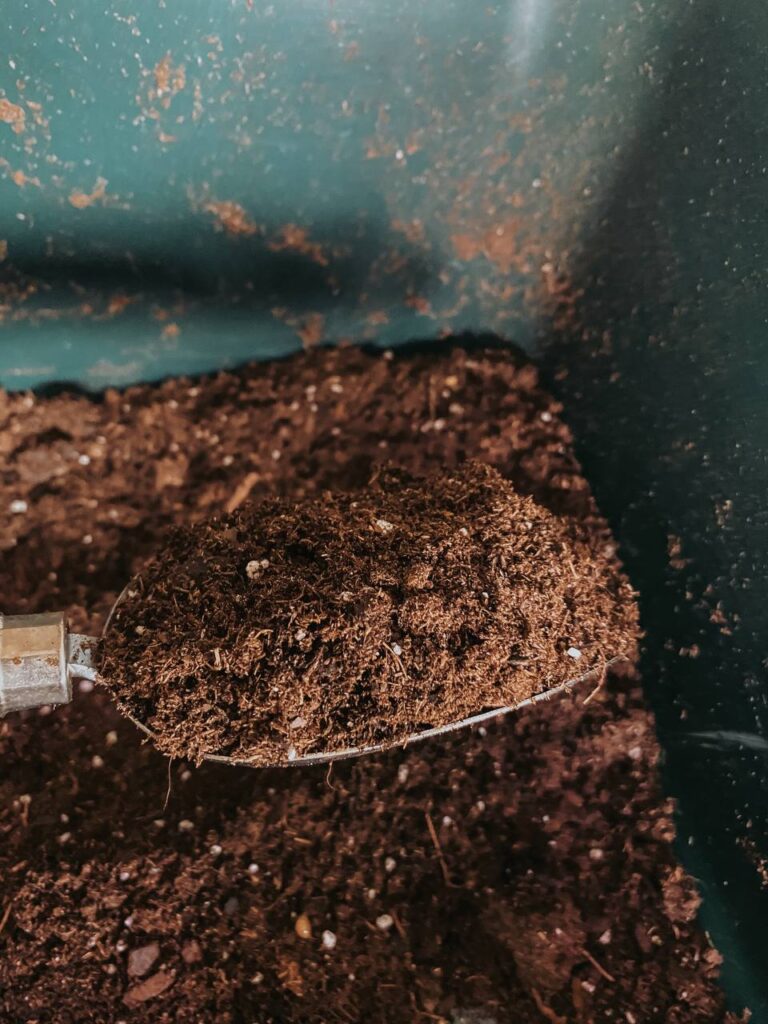
3. Select a growing medium: Use a good quality potting soil or seed starting mix.
If you search online what growing medium is best you will find a breadth of information that can be very overwhelming. A great rule of thumb not using regular dirt from your back yard. Choosing a high-quality seed starting mix is crucial for successful seed germination and seedling growth. Unlike regular potting soil, seed starting mix is specifically designed to provide the optimal conditions for seeds to sprout and develop. It is typically lighter and more porous, allowing for better drainage and aeration, which helps to prevent overwatering and root rot. Additionally, seed starting mix is often sterilized to prevent the presence of fungal spores and other contaminants that can harm young seedlings. By using a seed starting mix, you can give your seeds the best possible start in life, setting them up for healthy growth and development as they transition into the garden.
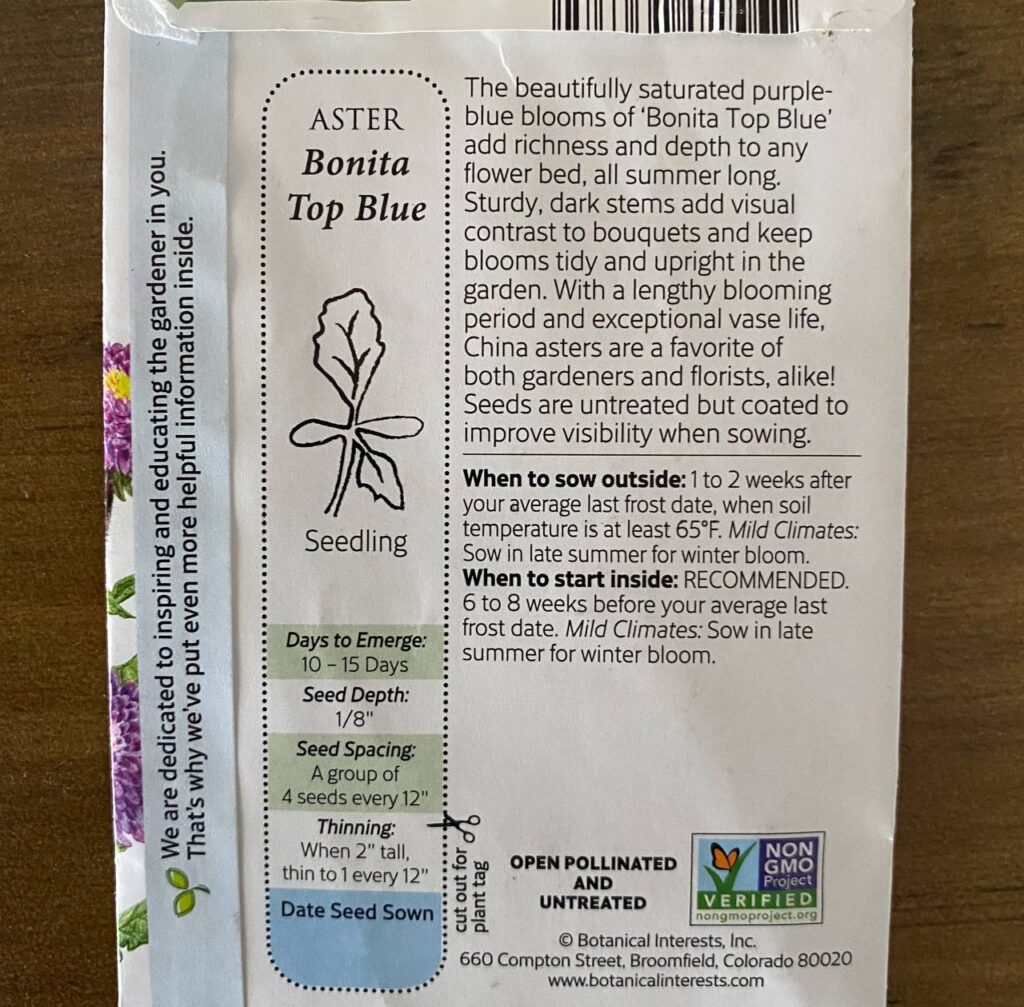
4. Plant the seeds: Follow the seed package instructions for planting depth and spacing.
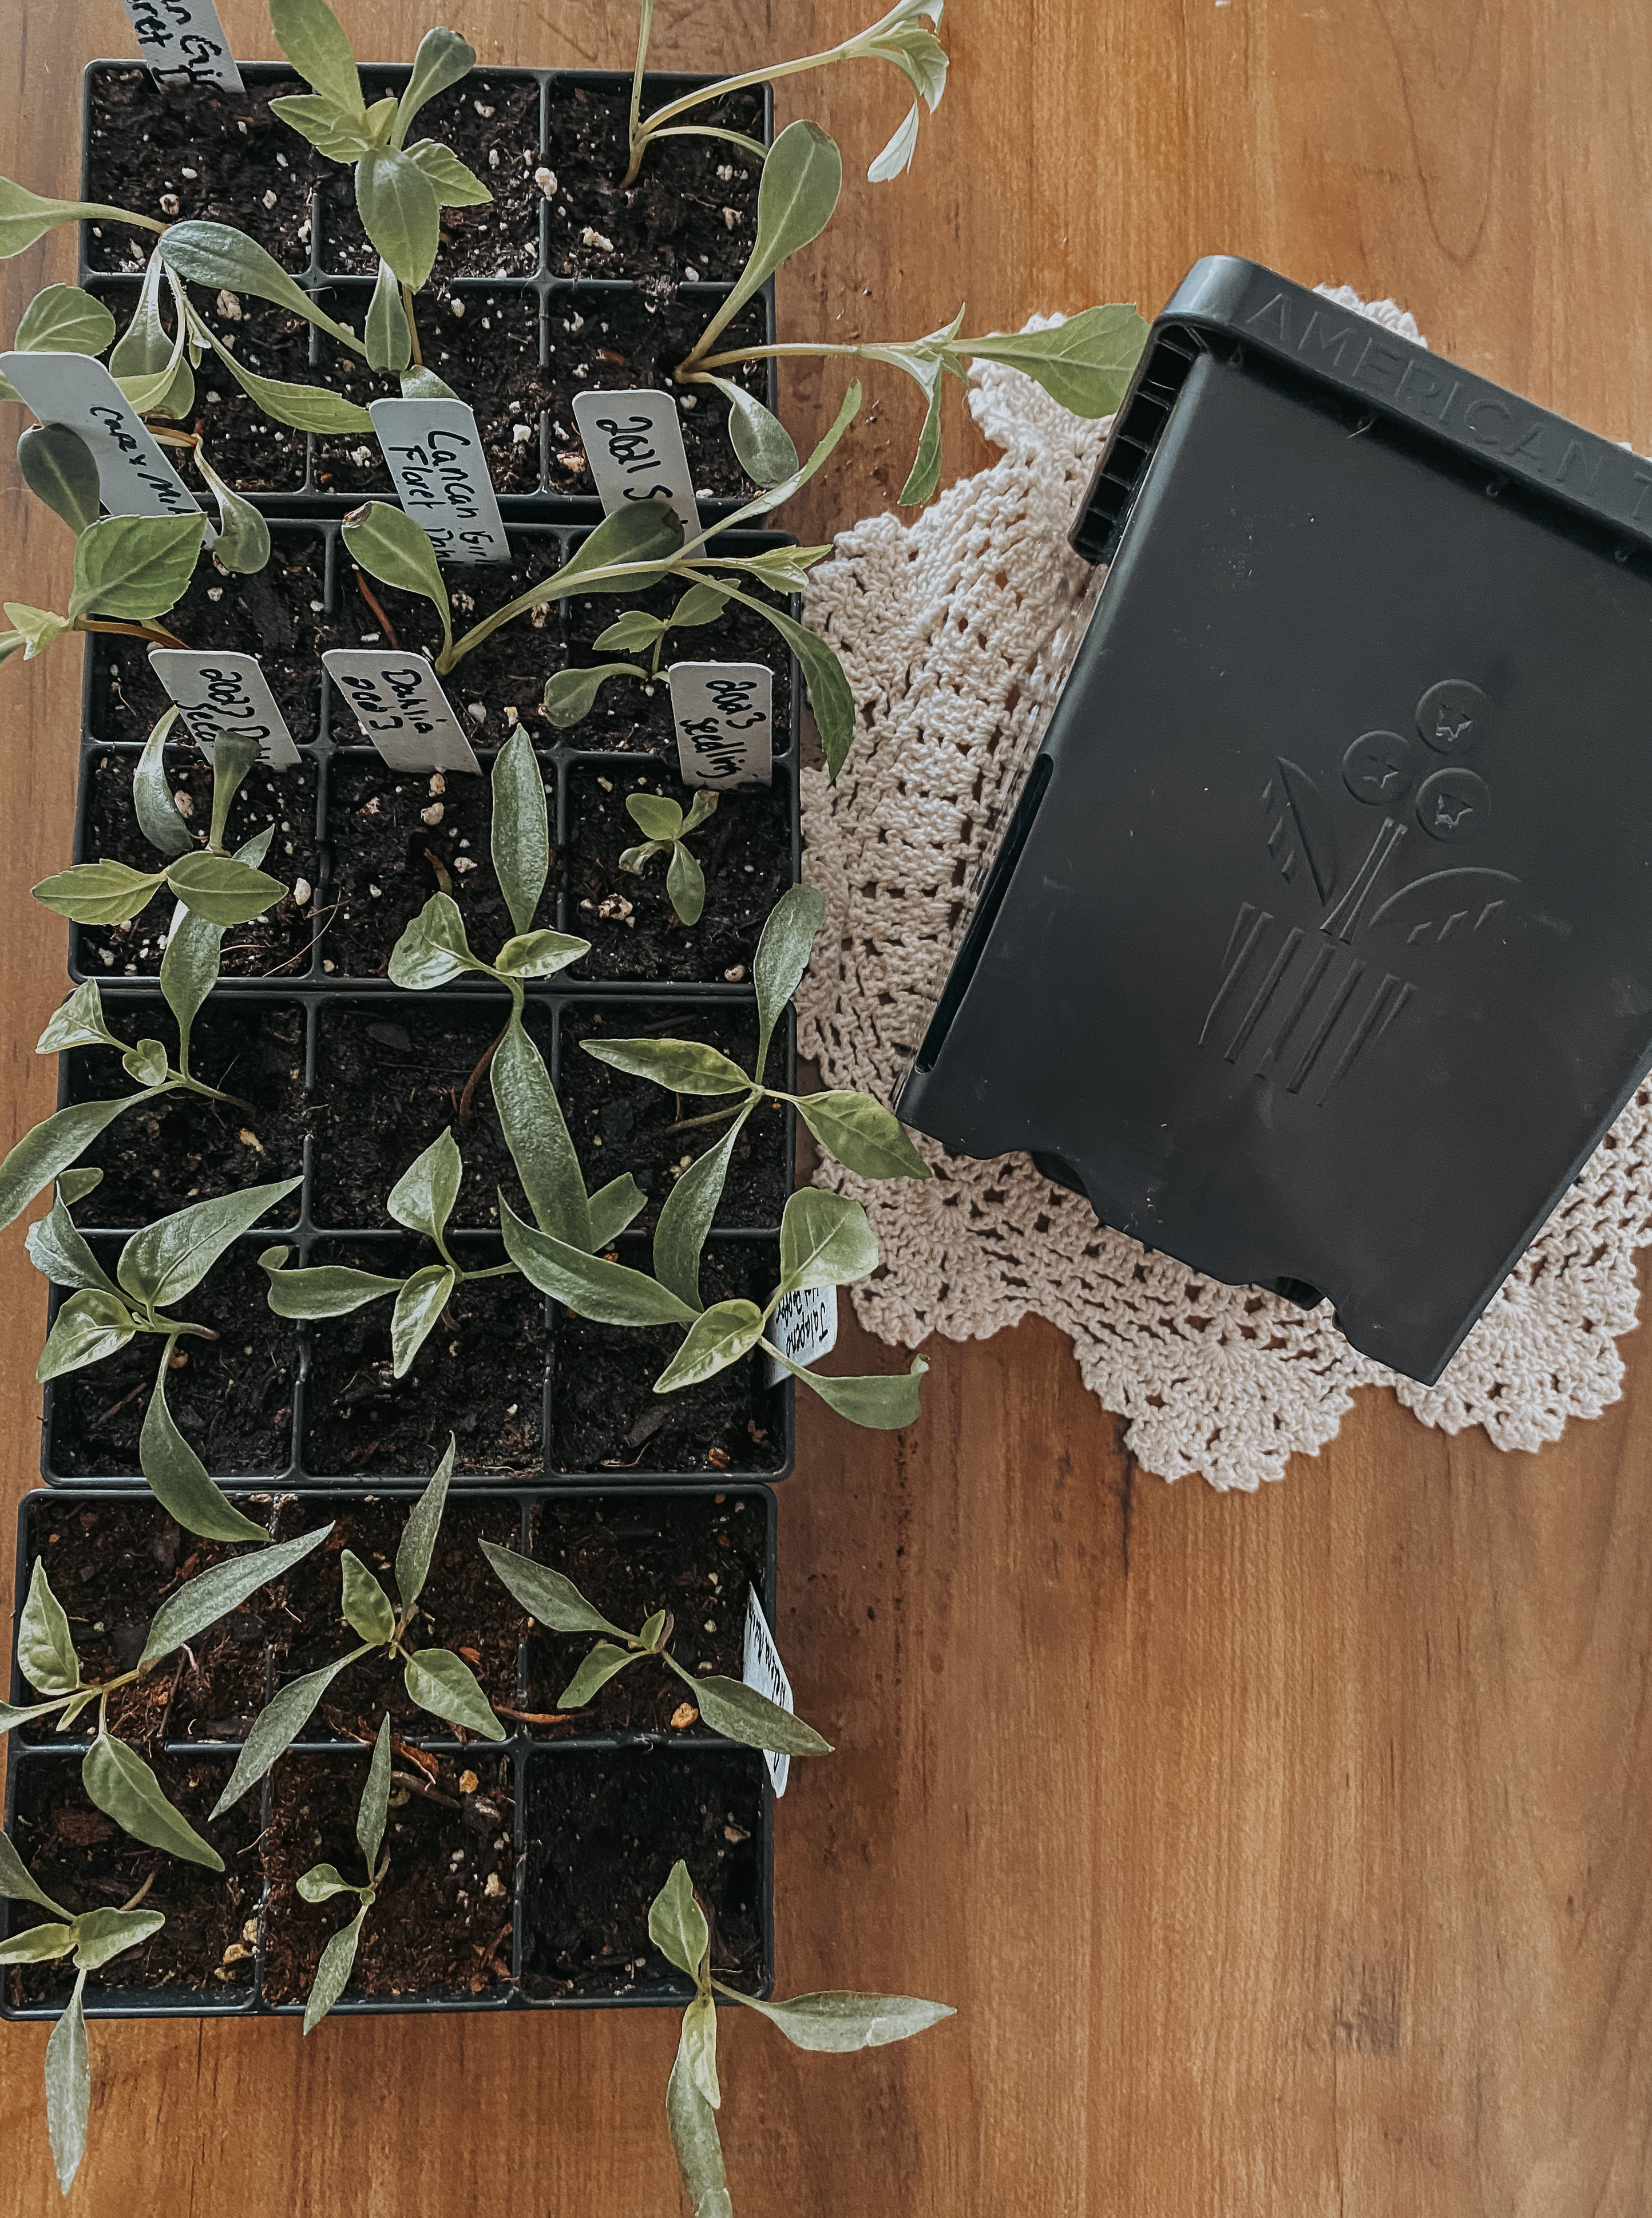
On most seed packs there are usually planting instructions on the back with additional information on how to plant your seeds. We like to hold onto our seed packets even after they are empty to refer back to at a later time for reference or remembering what we planted (even years later).
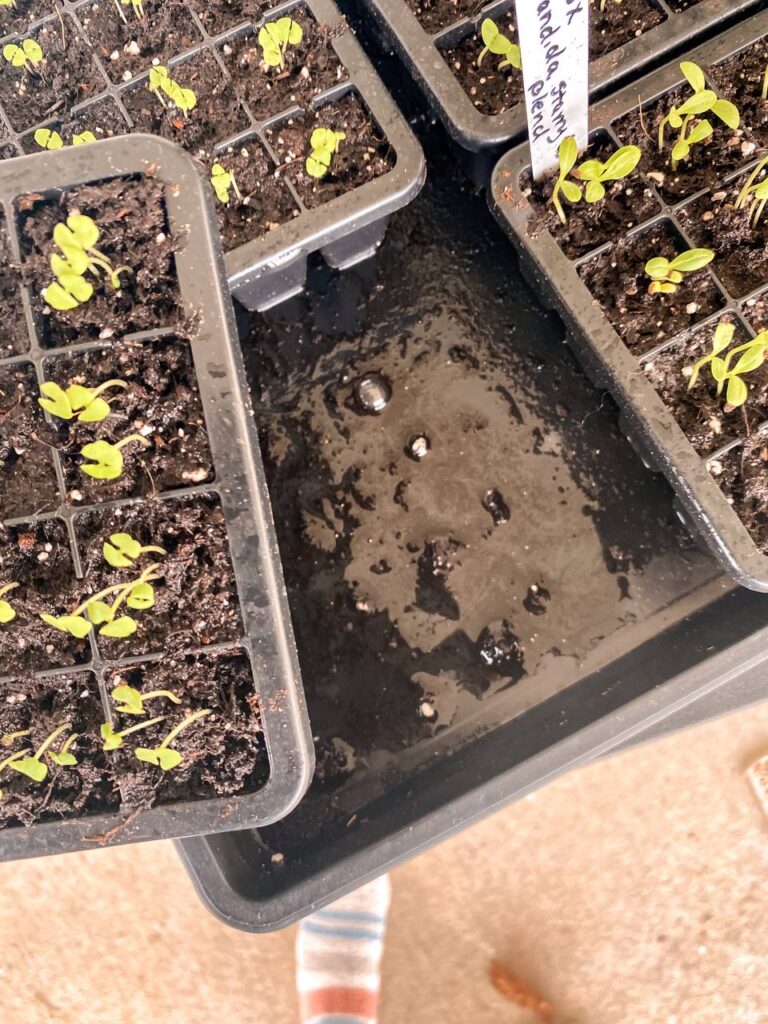
5. Warmth & Water: Water gently and place the containers in a warm location (around 70-80°F)
Warmth
If you do not have a warm room to start your seeds another option is using a seed starting heating mat. Heating mats are only useful for rooms who do not have heat to help speed up germination. To use a seed starting heat mat, place the mat under the seed tray or small pots containing the seeds, making sure the mat is flat and even. Set the thermostat to the desired temperature, usually between 70-85°F, and plug it in. The heat mat will warm the soil and provide a consistent temperature, ideal for seed germination. Check the seeds regularly and remove any seedlings that have germinated, transferring them to a cooler location to continue growing. Keep the mat clean and dry to prevent bacterial growth. Turn off the mat once the majority of seeds have germinated, usually within 1-3 weeks, depending on the seed type. Remember to follow the manufacturer’s instructions for specific usage guidelines
Watering
When watering seedlings, it’s essential to be gentle and careful to avoid washing away tiny roots. Water at the soil level (also known as bottom watering), allowing the soil to absorb the water without overflowing. Use room temperature water to avoid shocking the tender roots. Water seedlings when the top inch of soil feels dry to the touch, usually once or twice a week, depending on the humidity and light levels. Avoid getting water on the leaves to prevent fungal diseases. Water seedlings in the morning to allow the plants to dry out slightly before nightfall. Remember to check the soil moisture regularly and adjust your watering schedule as the seedlings grow and develop.
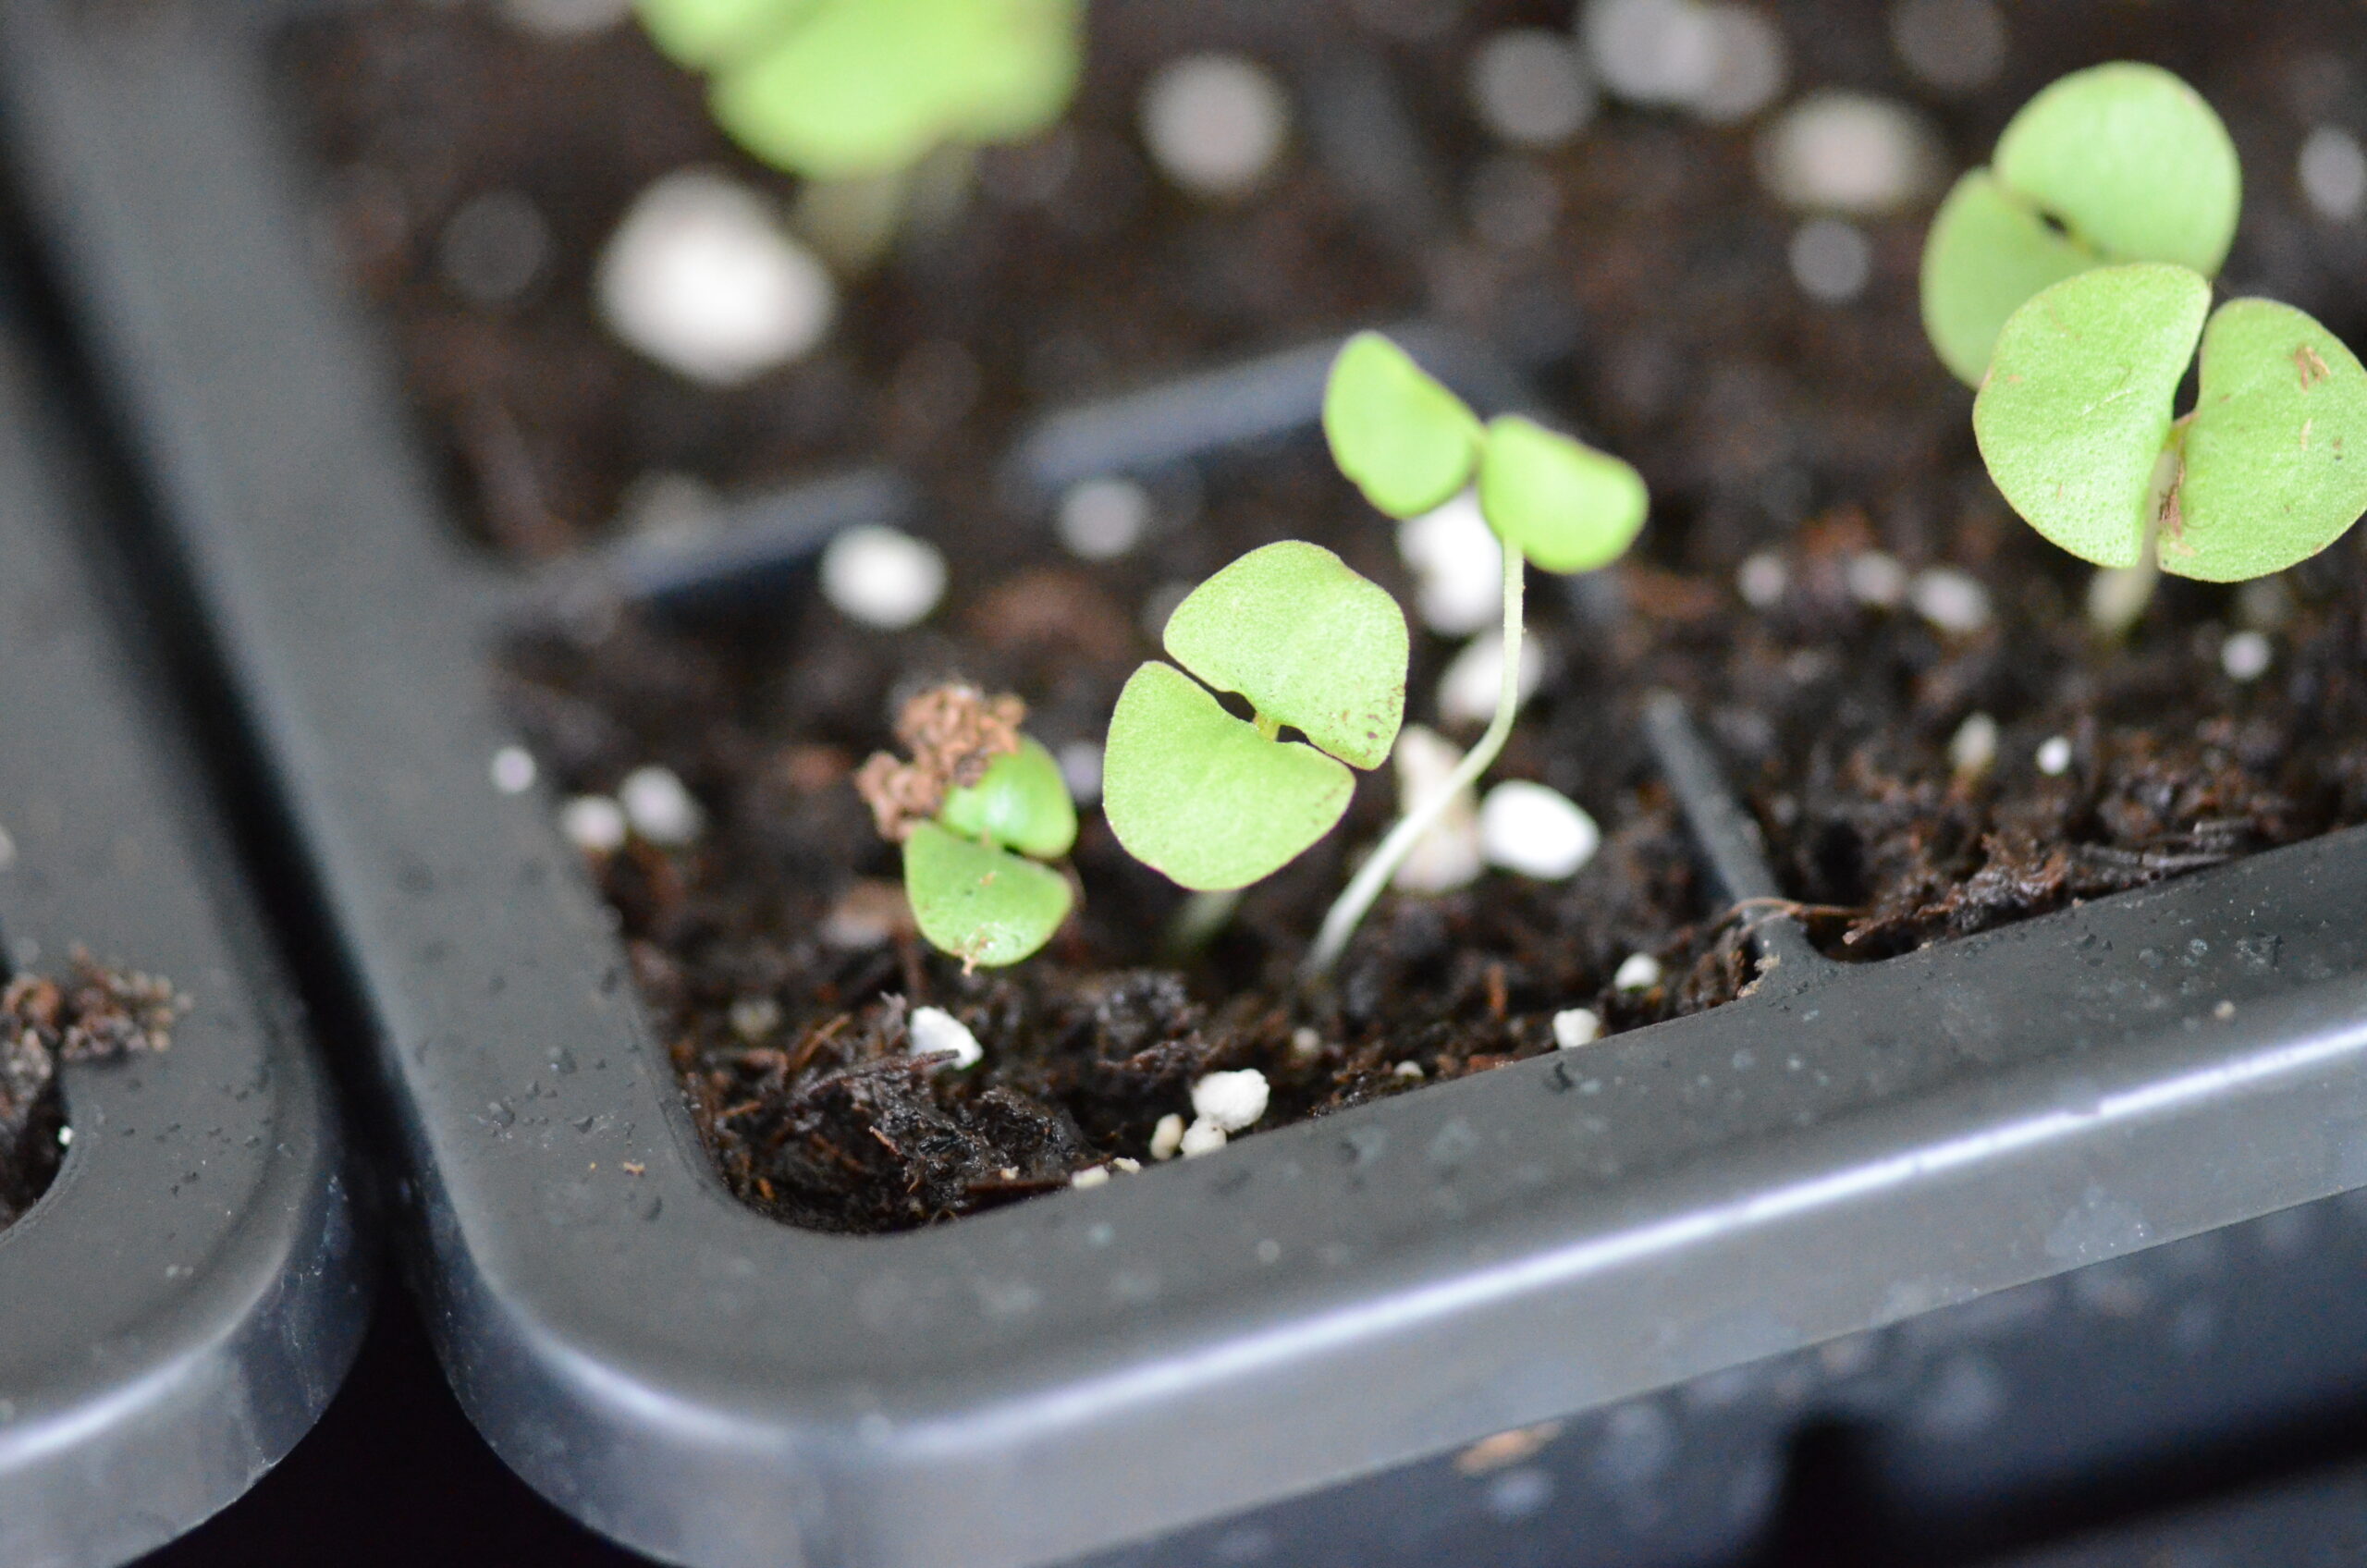
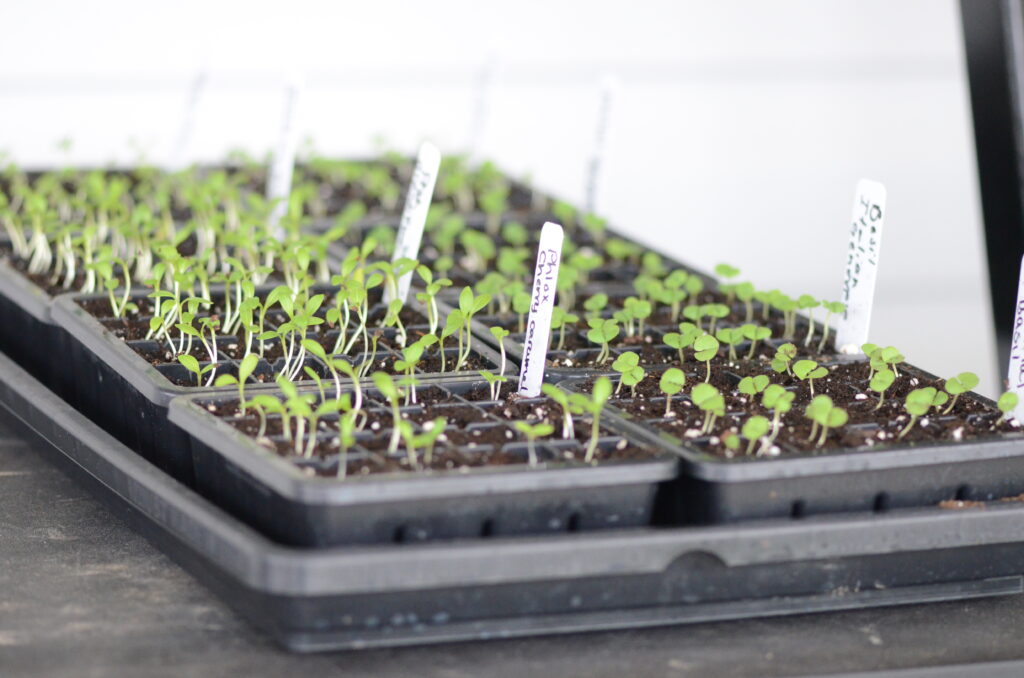
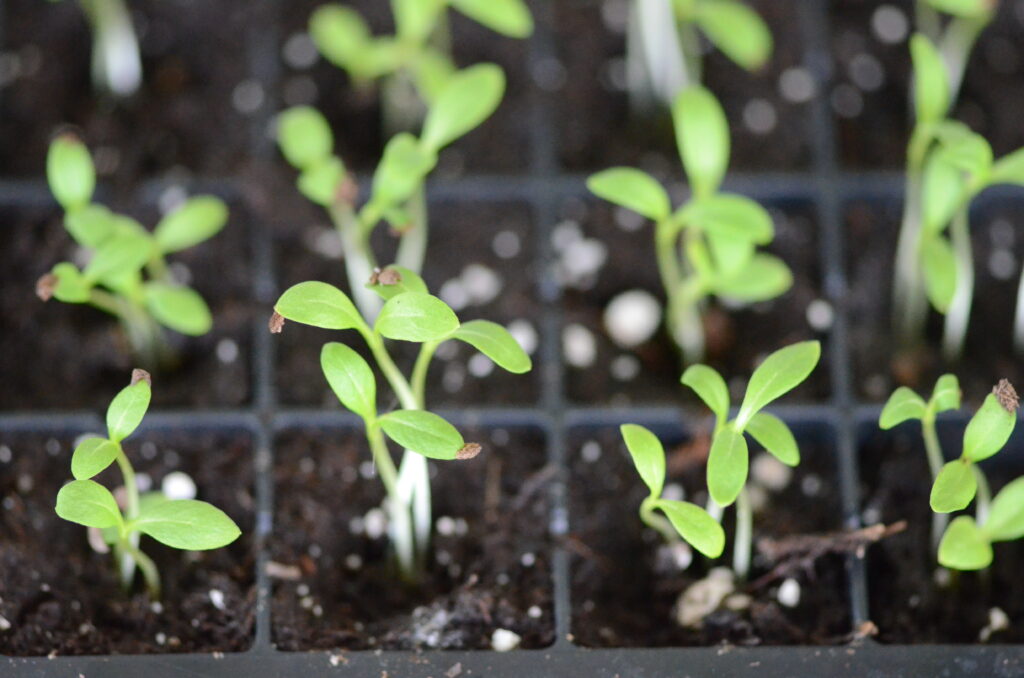
6. Provide Light and a Fan: Once seedlings emerge, move them to a sunny window or use grow lights.
Light
Light is crucial for seedlings that have emerged, as it provides the energy necessary for photosynthesis, the process by which plants produce their own food. Without adequate light, seedlings will struggle to grow and develop, leading to weak and leggy stems, and yellow or pale leaves. Light also plays a role in the production of growth hormones, which regulate cell growth and differentiation. In addition, light helps to regulate the seedling’s circadian rhythms, influencing growth patterns and timing. Providing sufficient light, either from natural sunlight or artificial grow lights, ensures that seedlings receive the energy they need to grow strong and healthy, setting them up for success as they mature.
Air Circulation
Adding a gentle fan to the room with your seedlings can help promote healthy growth by improving air circulation, reducing humidity, and strengthening the seedlings’ stems and roots.

7. Keep the soil moist: Water consistently, but don’t overwater.
When watering seedlings, gently pour water onto the soil surface, avoiding direct contact with the delicate stems and leaves. Water at the base of the plant, allowing the soil to absorb the water, and take care not to overwater, as this can lead to root rot and other problems. Water seedlings when the top inch of soil feels dry to the touch, usually once or twice a week, depending on the environment. You can use a mister, plastic bottles with holes in the cap, spray bottle, or a watering can with a long beak to help with water control. If weather is cooler if seedlings are in a greenhouse the watering may slow down than if the weather was warmer.
8. Transplant: Once seedlings have 2-3 sets of leaves, transplant them into larger pots or directly into the garden.
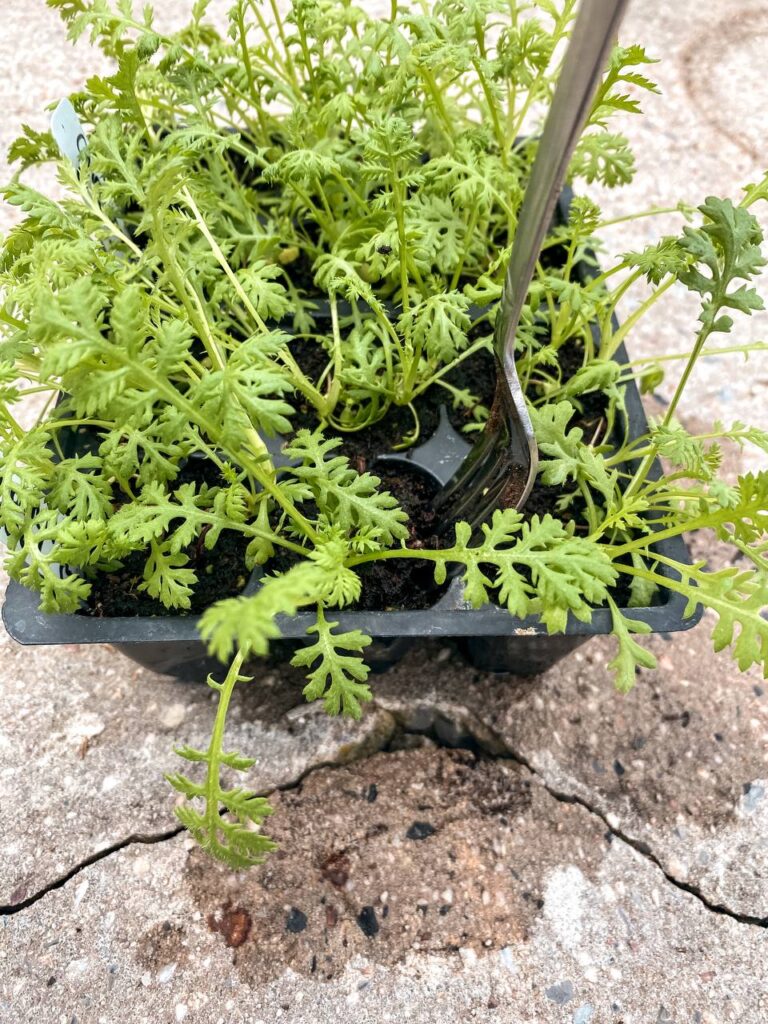
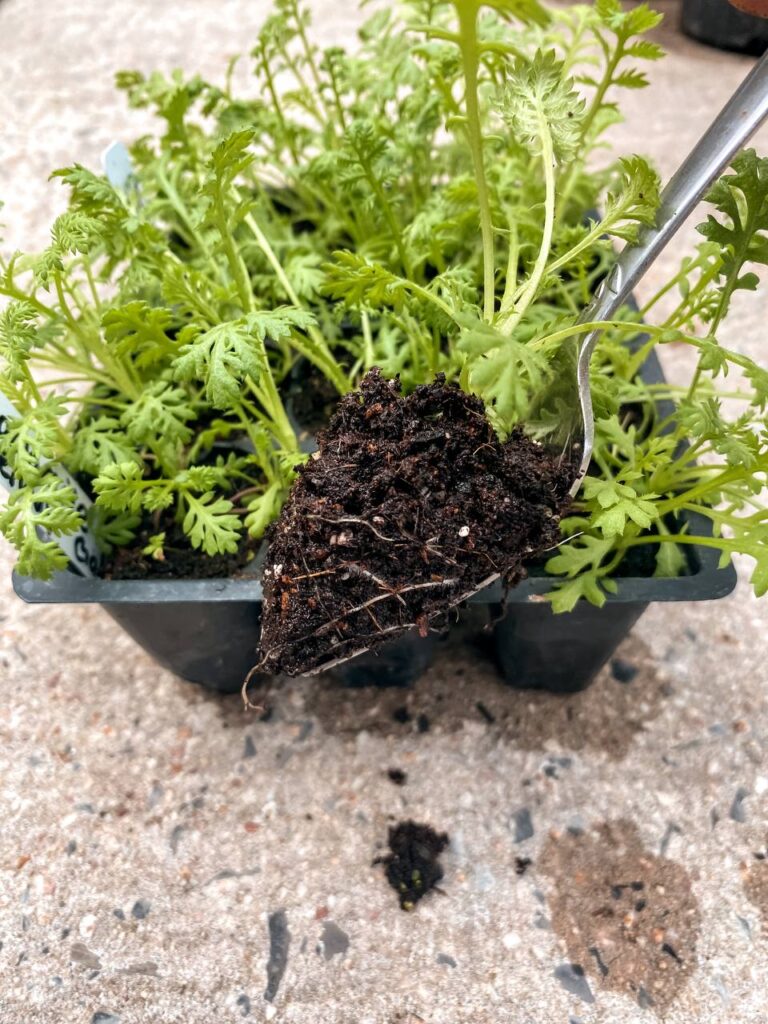
Once your seedlings have their true leaves or you notice they are drying out more than usual it may be time to transplant your seedlings. These cells from Epic Gardening make removing seedlings so much easier as there is a hole in the bottom where you can use your finger to pop them out. Another alternative is using a fork to remove your seedlings. If temperatures are cooler in your area it is vital to harden off your seeds before planting in a garden. This will give the chance for your seedlings to become acclimated to the change in weather without a shock. Make sure your seedlings can tolerate any low temperatures in the evenings. Seedlings such as basil or tomatoes dislike temperatures below 50 degrees F and will potentially kill them.
As seedlings grow, they quickly outgrow their small starting containers, becoming root-bound and in need of more space to continue developing. Transplanting seedlings into a bigger container provides them with fresh soil, improved aeration, and increased room for root growth, allowing them to reach their full potential and prepare for eventual transplanting into the garden.
Starting seeds indoors can be a fun and rewarding experience. With a little care and patience, you’ll be enjoying fresh garden produce in no time!
/\This post contains affiliate links. This means when you make a purchase using one of our links to order a product, we will receive a commission that will go towards Hope & Wildflowers. Thank you for support!

